My Go-To Needle-Turn Appliqué Supplies
Needle-turn appliqué is one of my favorite hand-sewing projects. I’m just wrapping up a quilt that I made completely by hand (hand appliquéd all the pieces from templates I designed, then hand quilted, hand tied, and hand bound it to finish), and I’m working on a free project that’ll be coming your way very soon that includes a small appliqué piece (you can choose any appliqué method you like), so I’ve had appliqué on the brain a lot. I’ve made so many appliqué projects over the years that I’ve definitely been able to nail down my favorite supplies, and I thought I’d share them with you today in case you’re looking to get started on your own appliqué journey or curious to add some new tools to your arsenal.
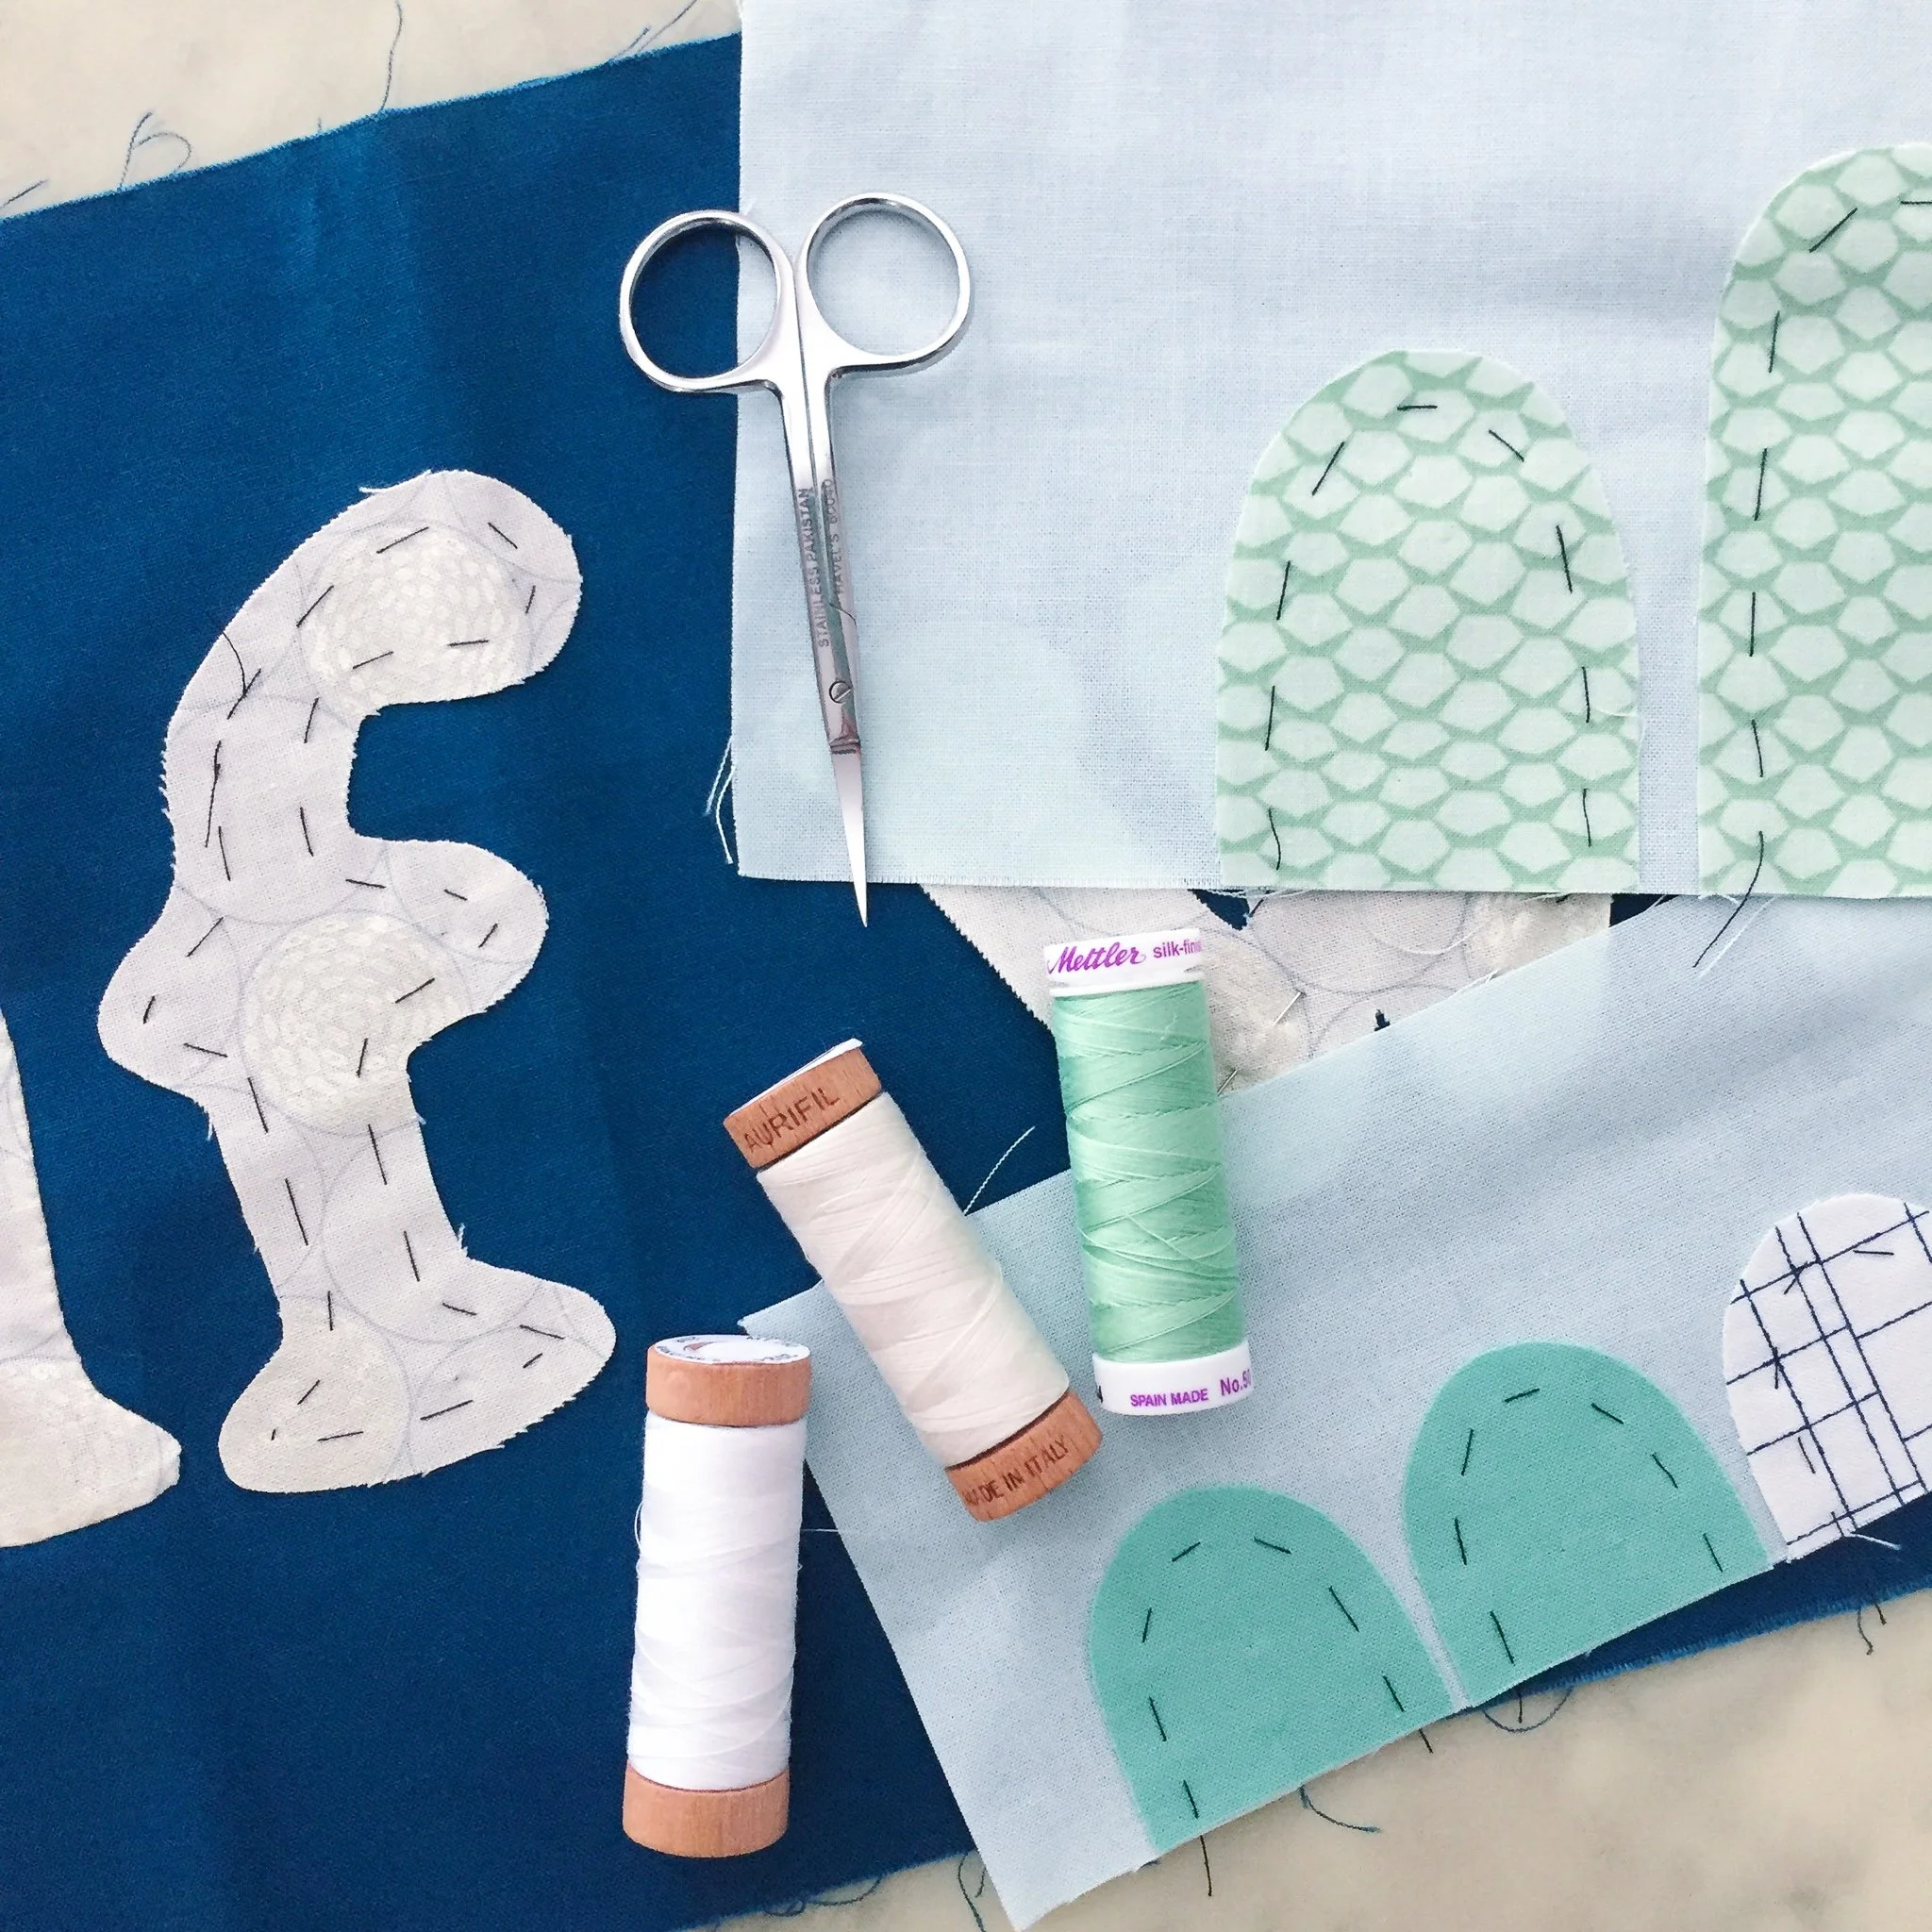
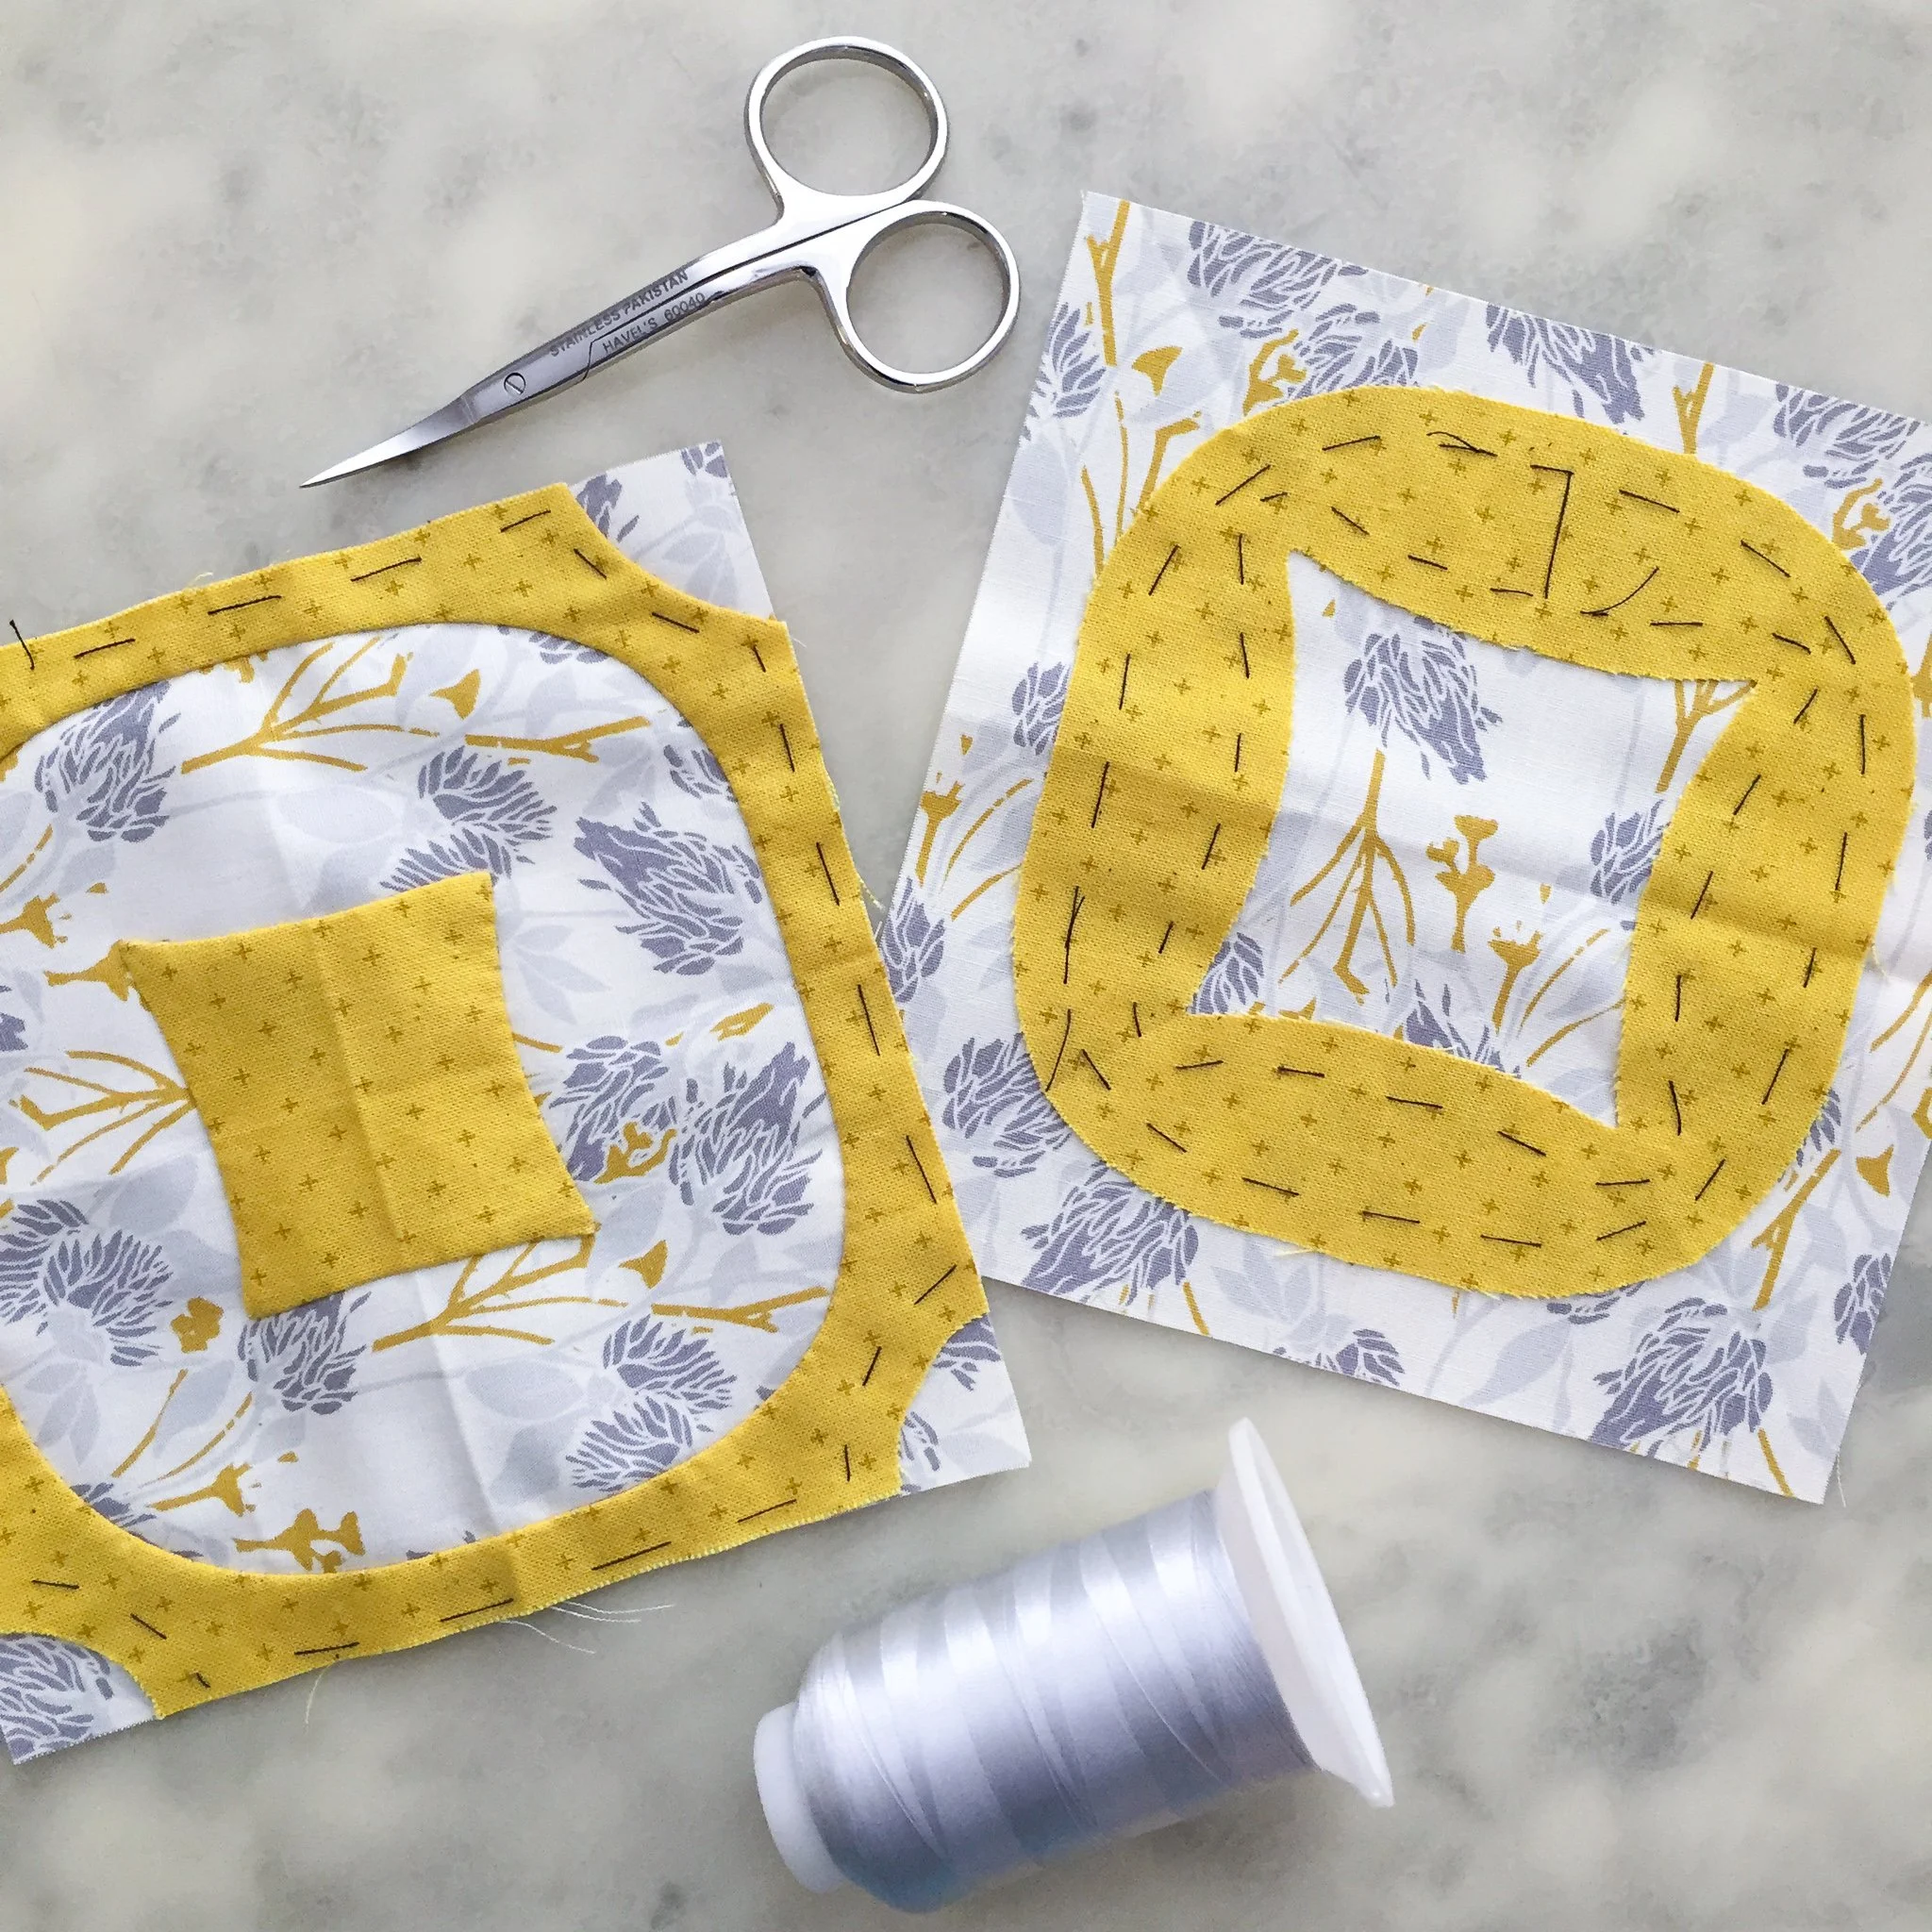
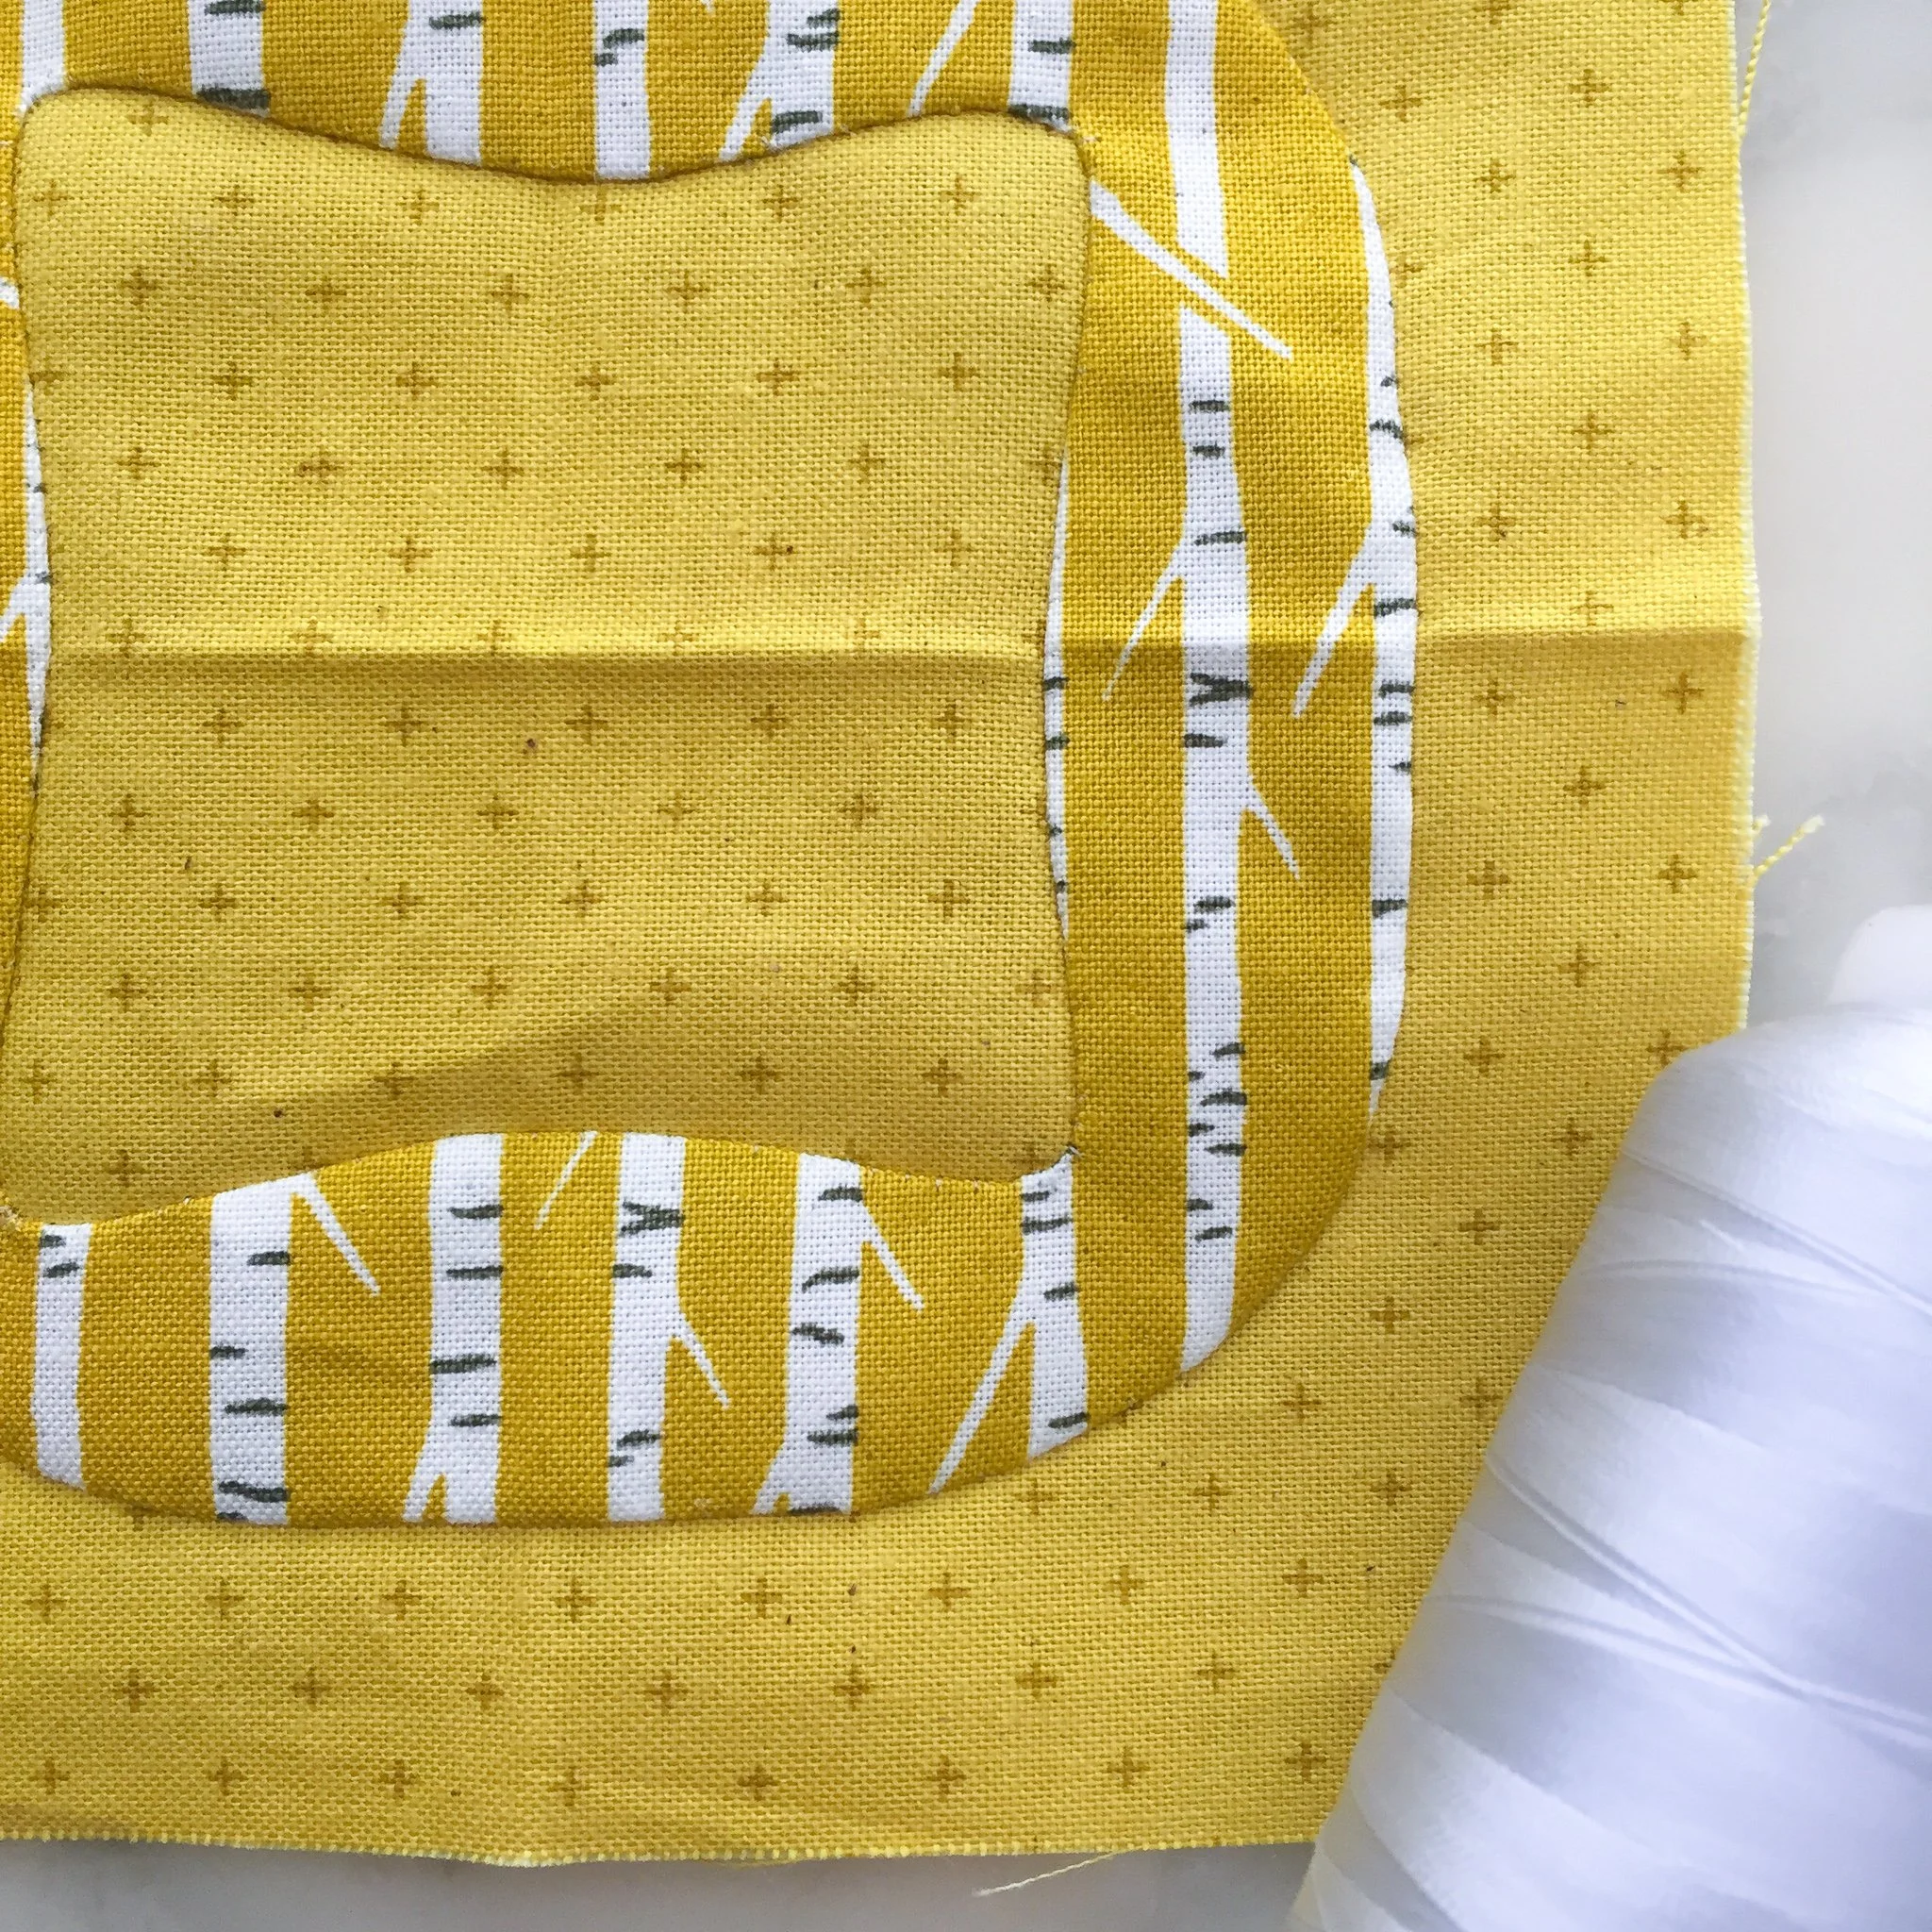
In-progress appliqué projects made using (top to bottom) a text pattern of my own making, followed by the Hesperides, Botanics, and Wainwright patterns by Carolyn Friedlander
Like any sewing activity, you can really go down a rabbit hole buying 5,000 different supplies, threads, what have you, but at its heart, appliqué is pretty simple, and you’ll likely have most of these supplies on hand already (in some form). You can certainly start out using, say, 50 wt. thread to practice and see what you think before you start investing in higher weight threads that will help you take your stitching to the next level, but it is worth investing in some good, thin needles, as well as appliqué pins (which are very short and have virtually no head, so they get in your way less while you’re basting) to ensure you have a quality experience that will help you decide whether this is going to be a new passion for you. I’ve broken the list down into required and optional supplies with lots of links to all my specific favorites. Feel free to leave a comment with your own suggestions and any questions!
My favorite needle-turn appliqué supplies
Required Supplies
Thread to match your appliqué fabric (not your background fabric) or a neutral “invisible” thread. I recommend 100 wt. Wonderfil Invisafil in Winter Sky Grey (IF718). I use it on every color and find my stitches are virtually invisible. On my latest project, I used the Invisafil Blue Grey color (IF179) for some of the darker fabrics, and it was a lovely match. You could really cover just about any fabric with these two threads (pictured above and below).
80 wt. threads also work well. You can use 50 wt. in a pinch, but your stitches will be more noticeable, especially as you’re starting out, so if you’re using a 50 or 60 wt. thread, I highly recommend trying to match your thread to your appliqué fabric (this may require multiple threads per project).
Basting thread in a contrasting color (I use a cheap 50 wt. black. This will be removed form the final project, so there’s no need to go fancy. It’s a great opportunity to use up some older or weird-colored threads in your stash.)
Appliqué needles (I like Tulip Big Eye #10 Appliqué needles* for a shorter needle and John James size 11 Milliners needles* for a longer needle. I find that needle preference is a very personal thing, so it’s always a good idea to try a few kinds to see what suits you. You want one in the size 9-11 range with a pretty small eye, especially if you’re using a higher weight thread.)
Appliqué pins (I prefer these* pins by Dritz.)
Fabric scissors for cutting out your appliqué pieces (I like these larger scissors for cutting out big pieces and these smaller ones — with a super sharp, small point — for cutting out smaller, more intricate pieces. They’re both by Havel’s.)
Embroidery scissors or snips (These curved snips from Havel’s are my absolute favorite.)
Removable marking tool (such as a Pilot Frixion pen*)
Seam gauge (such as the Dritz Measuring Gauge*)
My favorite thread supplies
My favorite scissors for appliqué projects (all from Havel’s; linked above)
Optional Supplies
Thimble (I don’t use one for needle turn, but some people do. Thimbles are such a personal preference that you’ll likely need to try a few styles before you find something you like. )
Needle threader (I like this Dritz hummingbird threader* for threading small needles, like the ones I recommend above.)
Thread conditioner (I prefer Sew Fine thread gloss.)
Small pincushion (Check out my Mini Pinnies tutorial or Maker’s Heart pincushion pattern to make one yourself or grab a handmade one from my shop.)
If you’re just planning to use a template once or twice, you can definitely just print out the templates on computer paper or cardstock and use those for tracing. But if you plan to use a template multiple times, I highly recommend making sturdier ones using template plastic* (you can also buy it by the sheet at Joann) and a Sharpie permanent marker (ultra fine point)*.
*Disclaimer: To assist you in finding some of the products I use in my work, this blog sometimes uses Amazon affiliate links. As an Amazon Associate, I may earn a small commission from qualifying purchases made by clicking on one of the links (marked with an asterisk). This is another way you can help support my business, and I thank you! That being said, if you're able to purchase the item locally, I strongly encourage you to do so. I only feature products that I would use myself.
Also, I'm a proud brand ambassador for Havel’s Sewing and love their products, like the scissors linked above. (I’ll never recommend anything I don’t honestly love and use myself.) You can use code "blueskycrafter7" on the Havel’s site to get $7 off orders of $25 or more.
My favorite appliqué needles, pins, needle threader, and pincushion (made using my Maker’s Heart pattern)
Appliqué project: Pillow made using the Ebb pattern by Carolyn Friedlander
Appliqué project: Pillow made using the Ebb pattern by Carolyn Friedlander
Appliqué project: Quilt made using the Botanics pattern by Carolyn Friedlander
In-progress appliqué project made using the Wainwright pattern by Carolyn Friedlander
Above: In-progress appliqué project made using the Wainwright pattern by Carolyn Friedlander
Below: Appliqué pillows made using the Ebb pattern by Carolyn Friedlander


