One Scrappy Pumpkin (Tutorial)
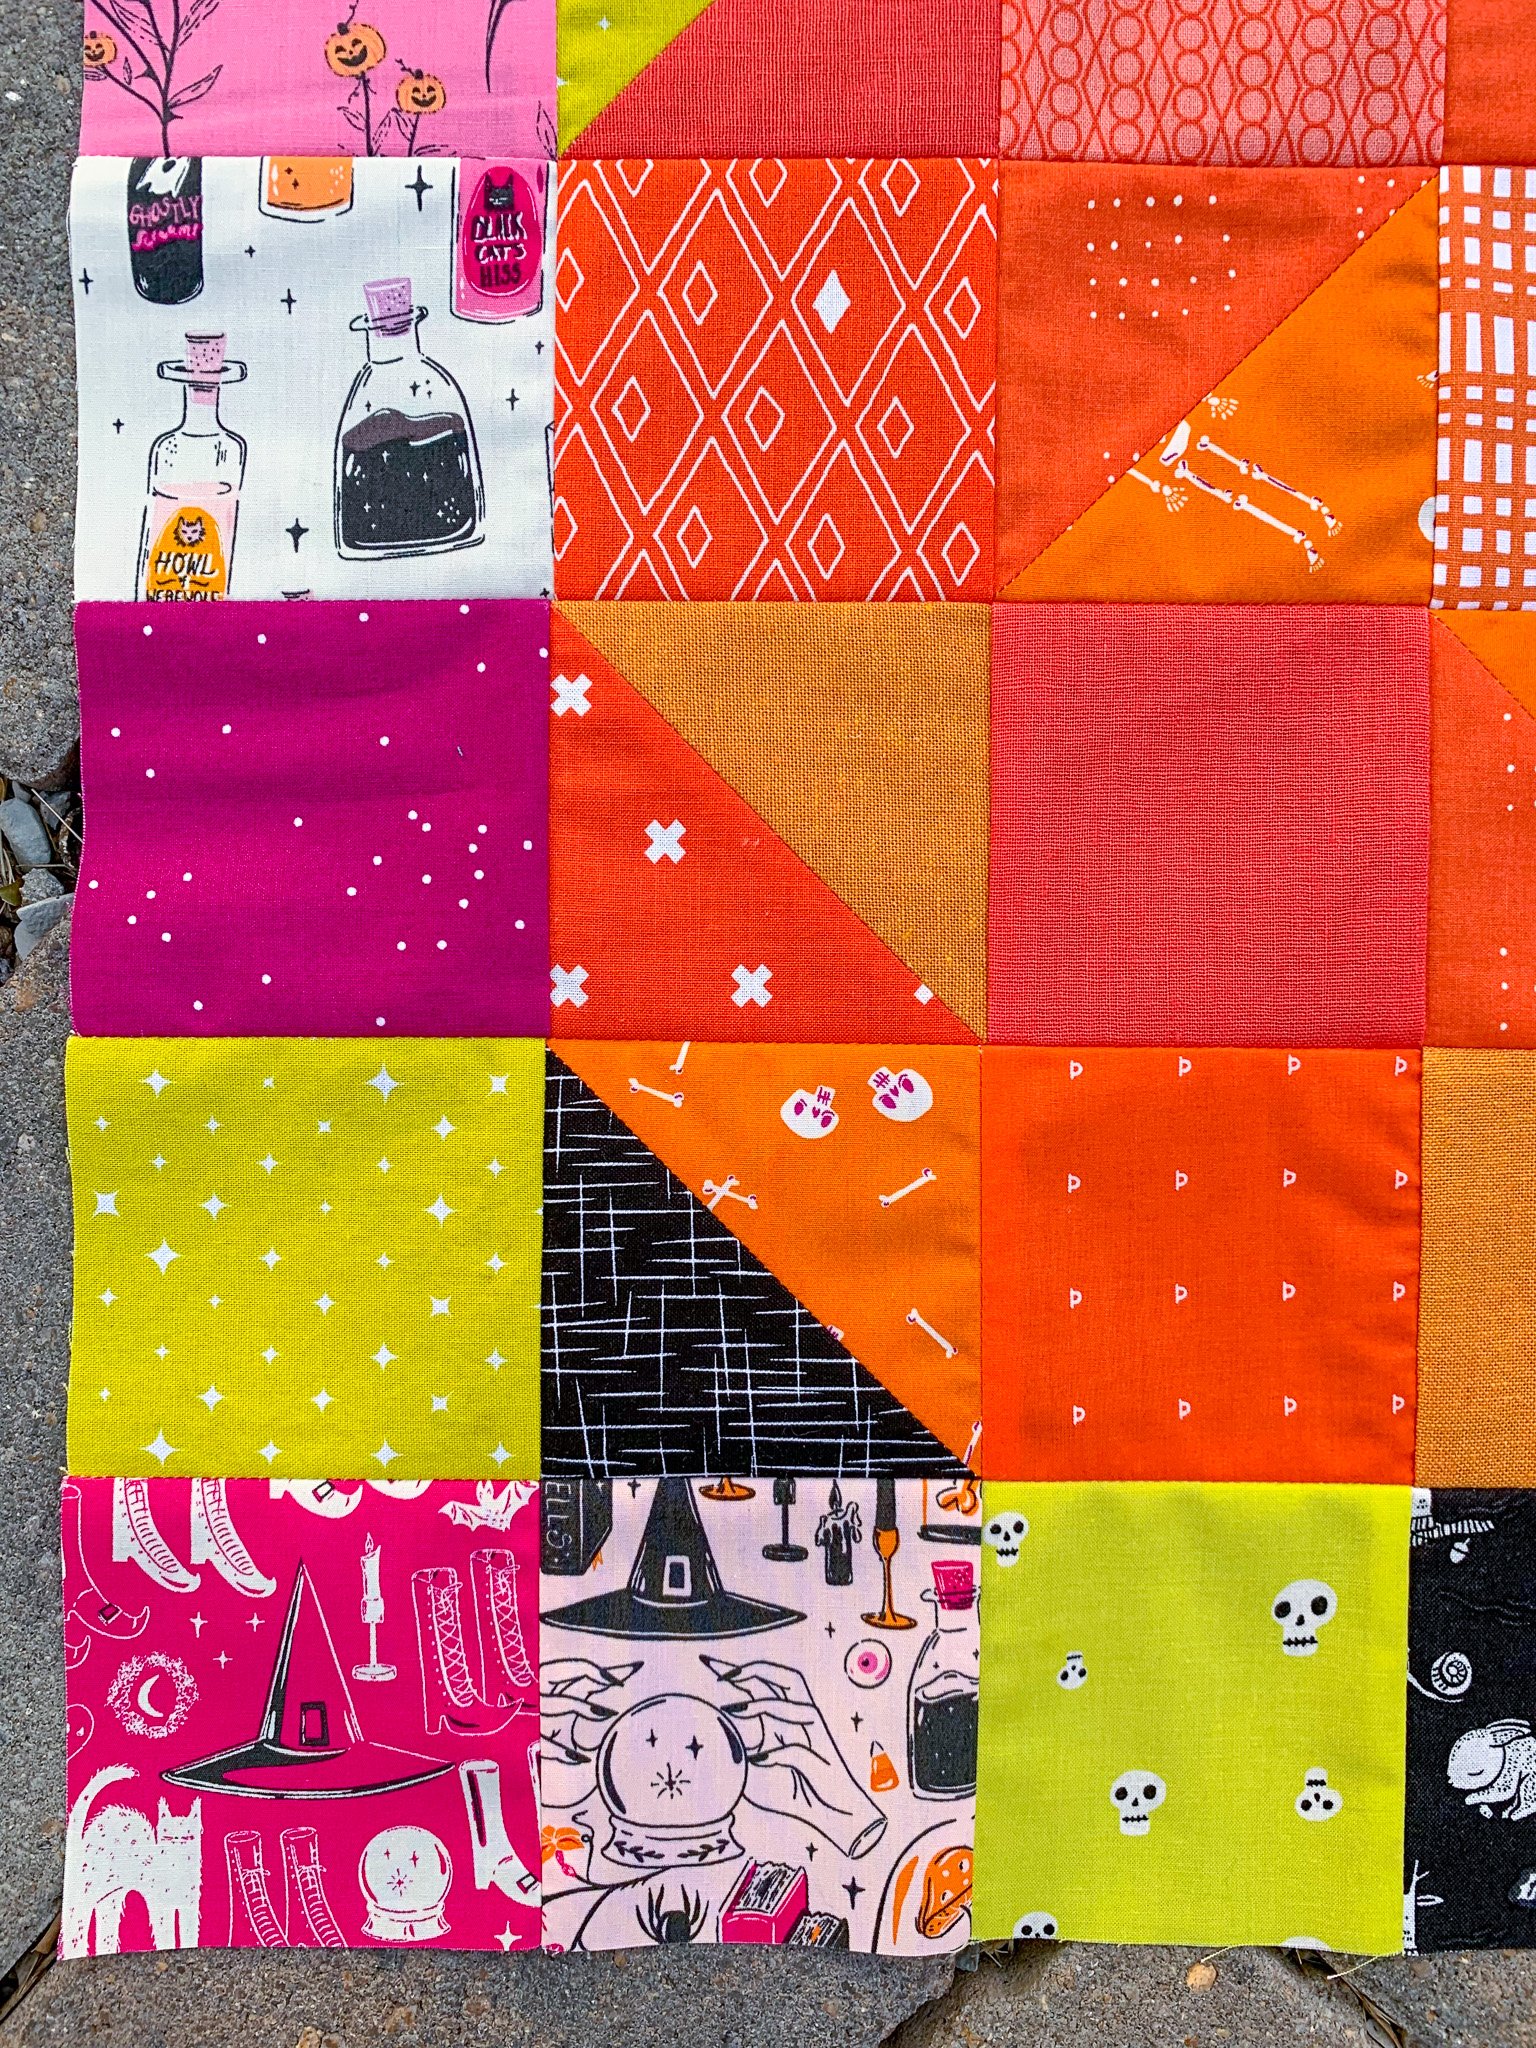
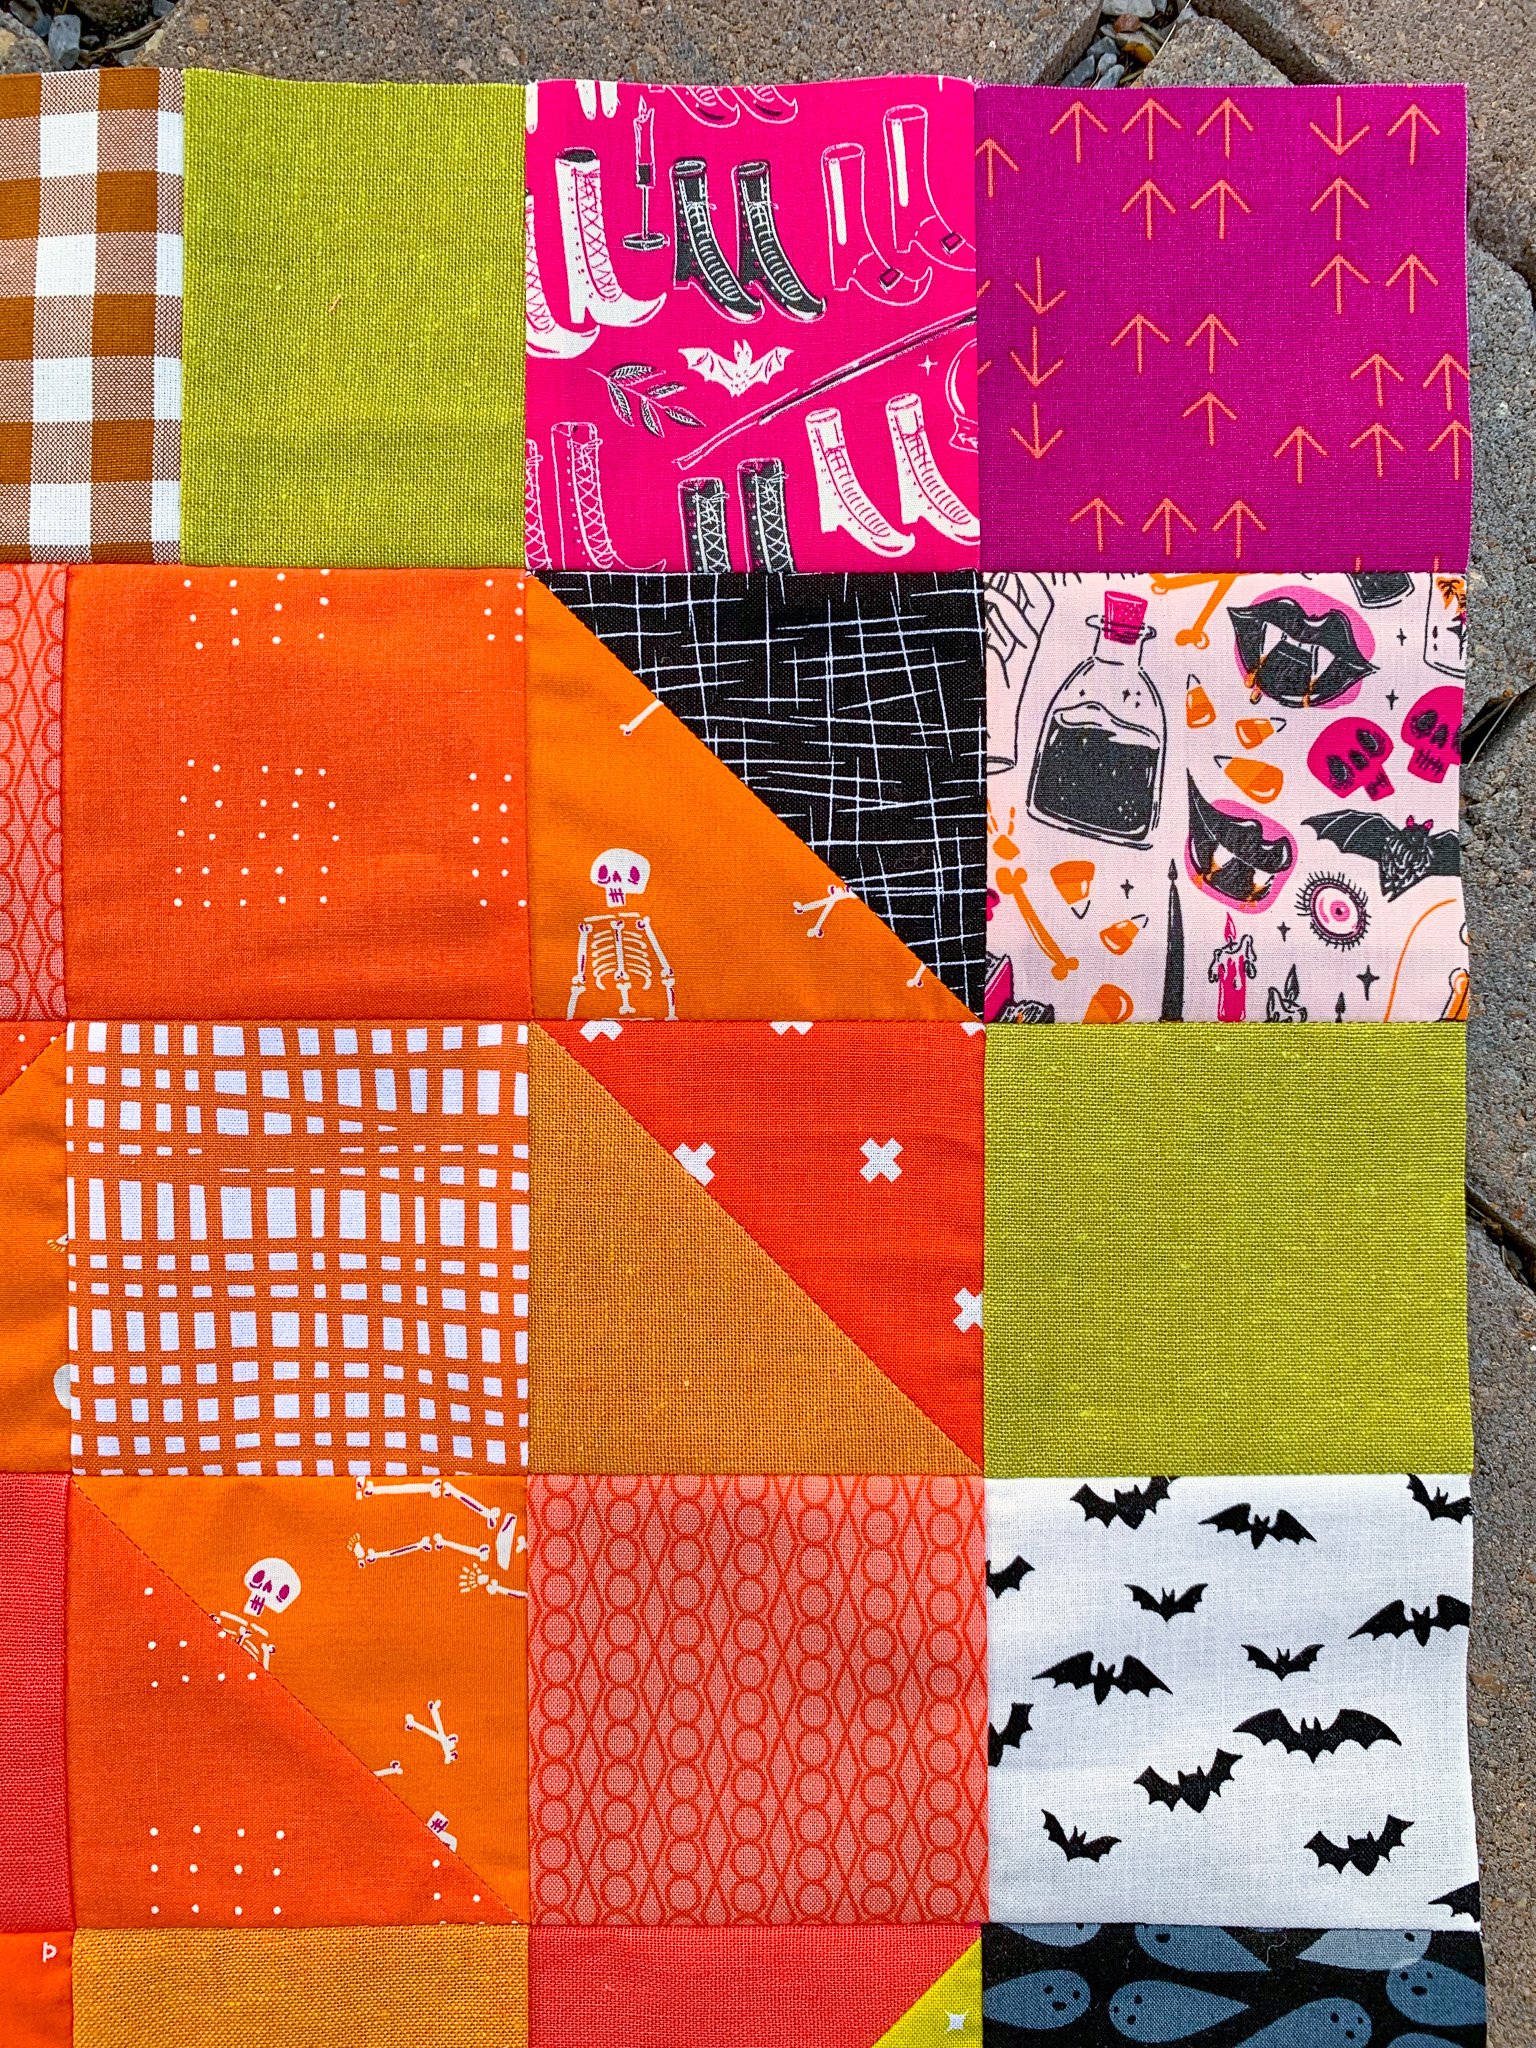
I hope you guys aren’t getting sick of the Halloween fun yet, because I’m sure not. I’ve got a fun quilt idea coming your way this week, but getting it to come together led me to create a free block tutorial for you (aren’t you lucky?)! This time, it’s for a scrappy pumpkin!
This simple block combines squares and HSTs to create a super-size 18.5” block. Like the One Scrappy Witch block, this pumpkin is perfect for inserting into all your Halloween quilts, pillows, or wall hangings. Whip this one up tonight, and you’ll be ahead of the game for the fun I’ve got coming your way this week.
Fabric Requirements
Go as scrappy as you want in accumulating the total numbers below:
a: (18) 3.5” background squares
b: (2) 2.75” x 3.5” background
c: (1) 2” x 3.5” for the stem
d: (2) 4” pumpkin squares and (2) 4” background squares (for outside pumpkin HSTs)
e: (8) 3.5” pumpkin squares
f: (4) 4” pumpkin squares (for inside pumpkin HSTs)
Instructions
1. Draw a diagonal line on the wrong side of each 4” d pumpkin square and two of the f pumpkin squares.
2. For the d squares, pair each 4” pumpkin square with a 4” background square, placing right sides together. For the f squares, pair each marked 4” pumpkin square with an unmarked 4” pumpkin square of a different fabric, placing right sides together. For each pairing, sew a seam on each side of the marked diagonal line 1/4” away from the line.
3. Cut along the marked lines and press each HST open. Trim to 3.5” square. Each pair of squares will produce two HSTs.
4. Arrange all HSTs and other pieces as shown below. Sew units into rows, pressing seams in the direction shown by the arrows (if you like the immense pleasure of nested seams; if not, feel free to press all seams open).
5. Sew rows together, nesting seams as you go, and press open.
6. Enjoy your cute new pumpkin (which will last far longer than those cuties on your front porch)! Be sure to share your creations on social media using #OneScrappyPumpkinBlock.


