Little Town Mini Pinnies Tutorial
‘Twas the week before Christmas and all through the town, every quilter was still sewing, with no signs of slowing down…
If you’re anything like me, most years, you’re guilty of piling your holiday-sewing task list so high you’re destined for failure, either because you can’t get to it all and end up feeling disappointed or because you do get it all done, but you’re too exhausted to enjoy most of it. Phew. Thankfully, I was a little better this year, hoping to sew only a few items (and nothing that would be too big a deal if it didn’t get done), which ended up leaving me a little time to sew these cuties together for some good friends.

I love making pincushions because they’re such a fun way to use up scraps, highlighting whatever little bits you have left. Every piece becomes a star because they don’t have to contend with much else in such a small space.
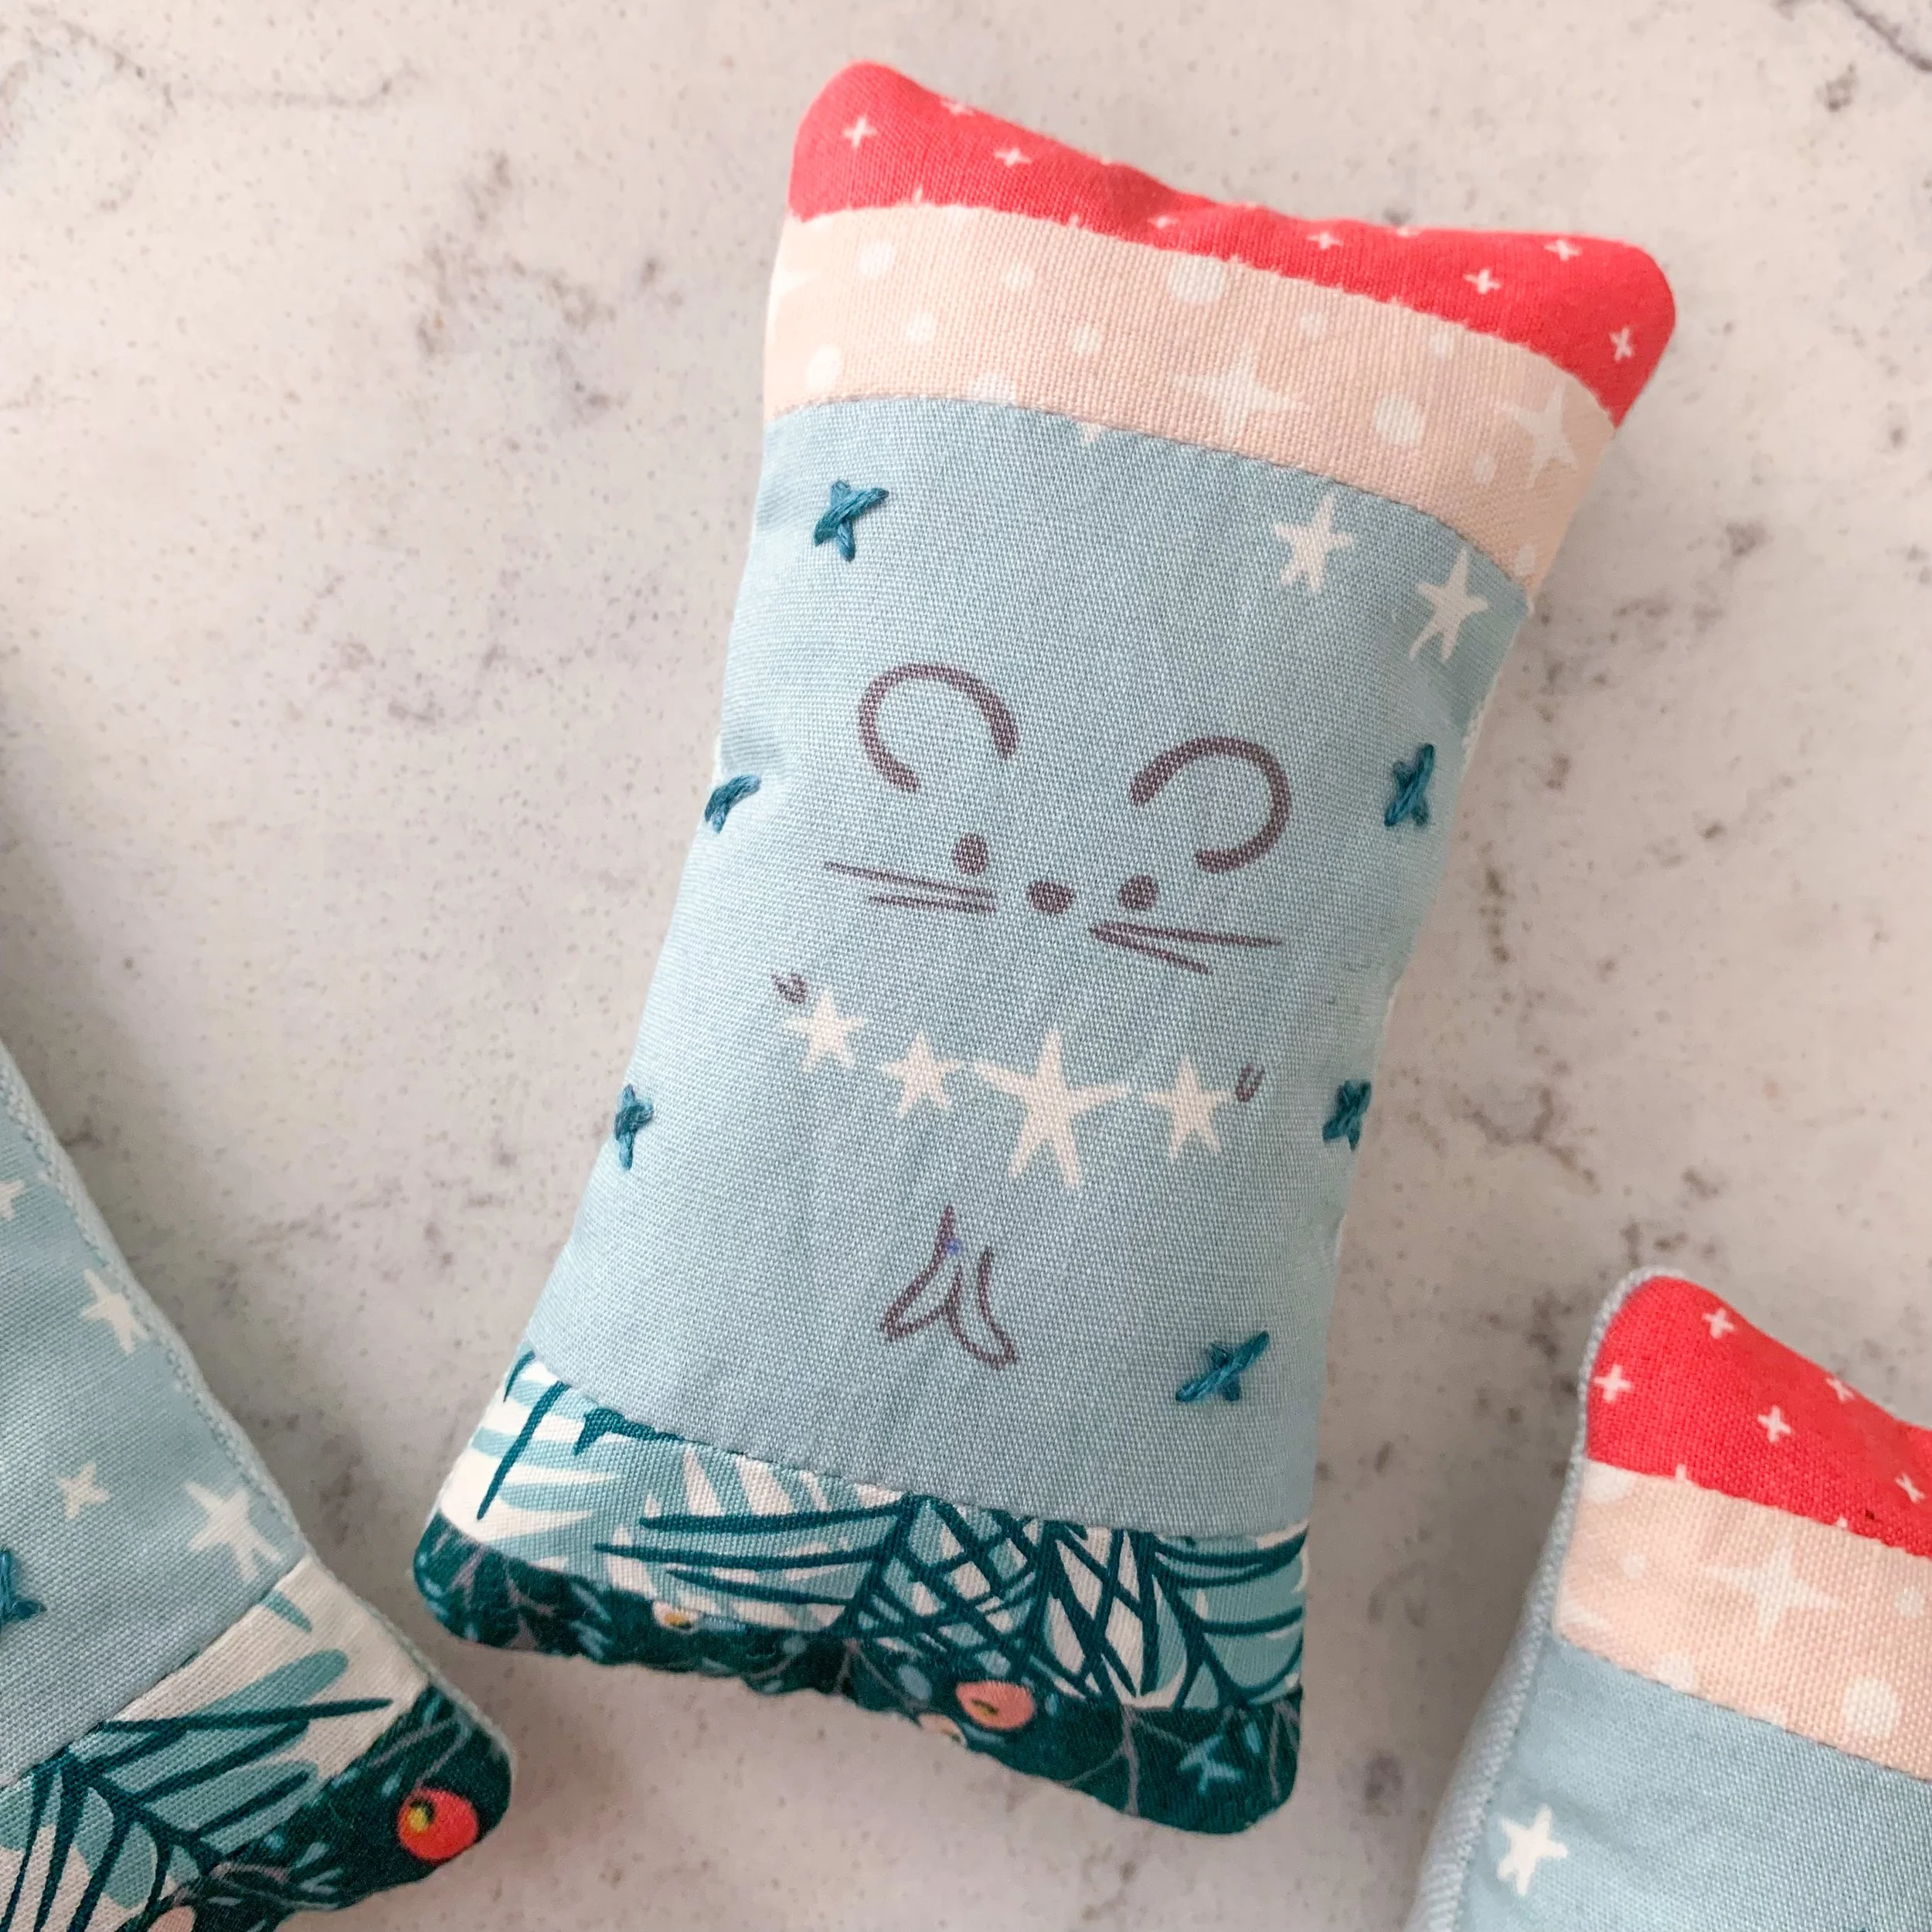
These precious creatures from Amy Sinabaldi’s Little Town collection were on my cutting table from another holiday project, and they were just begging to be used, so I paired them with a few other fabrics from the collection, an Add It Up print in the perfect pink (Strawberry), and a Paintbox Basics star print in a coordinating pale pink, along with Essex Yarn-Dyed Linen in aqua on the back.
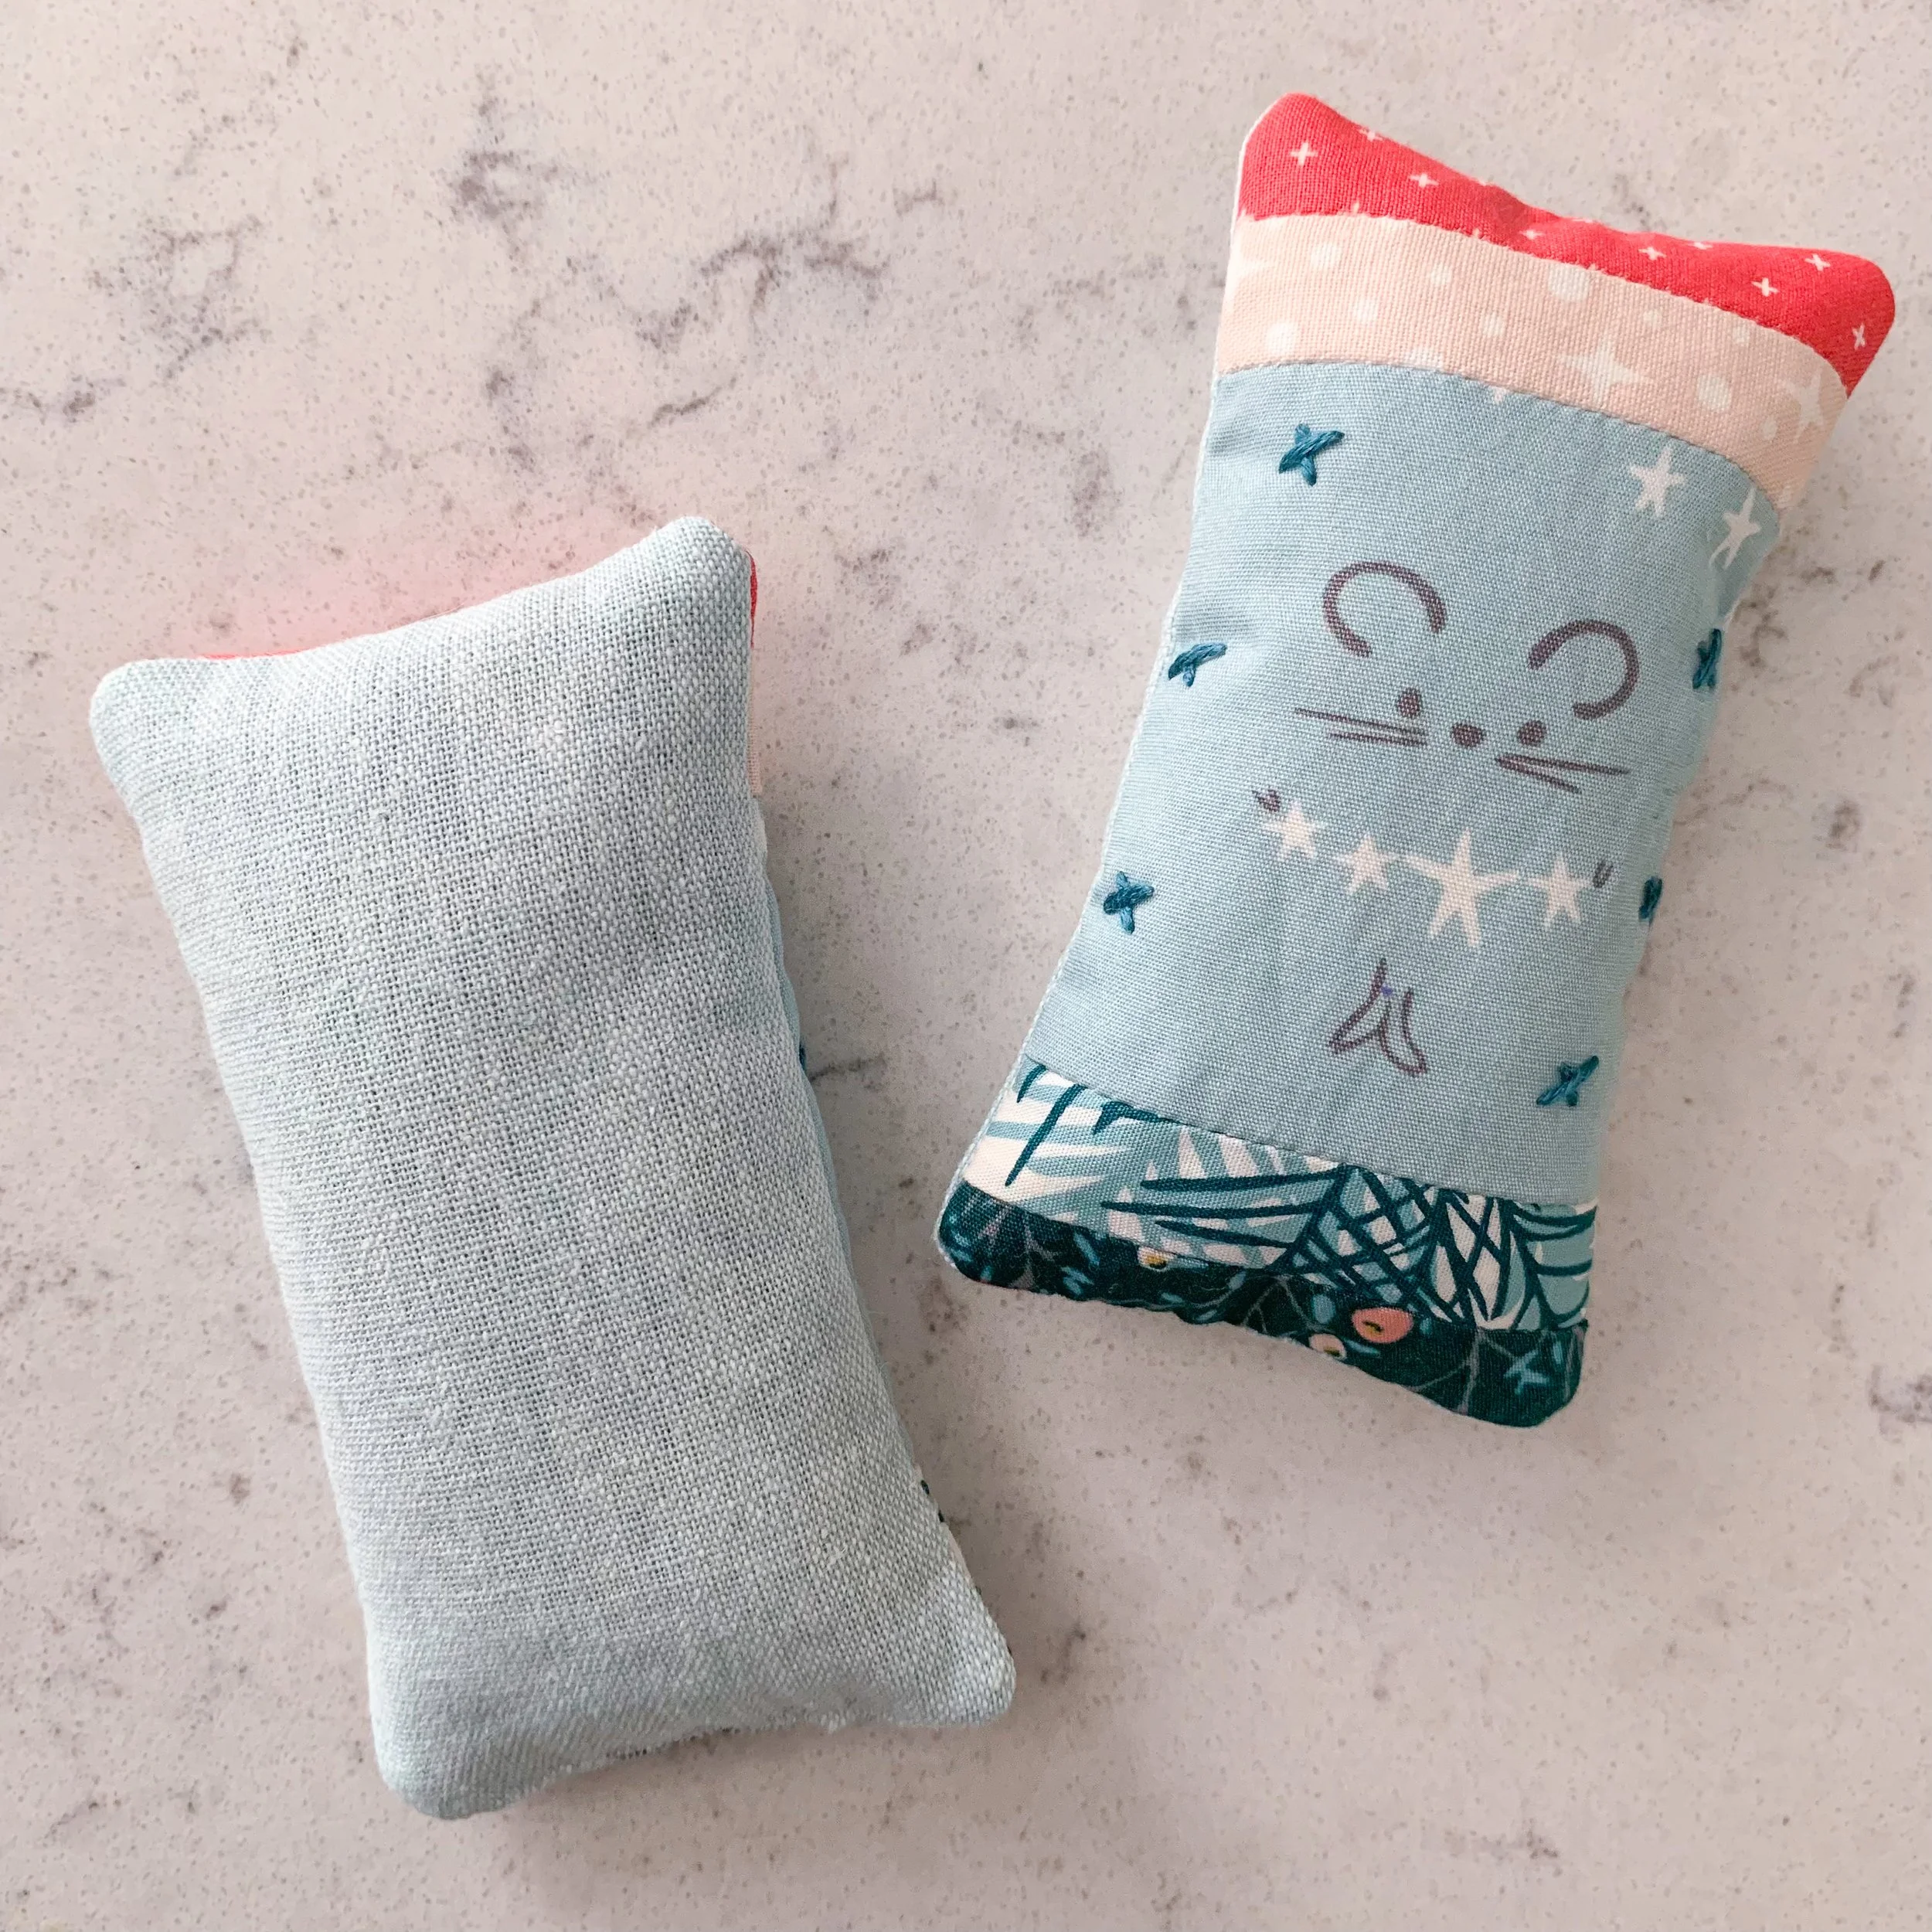

My favorite pincushions are little, both because they’re easier to throw in my travel sewing kit (where they get used the most) and because they’re even cuter that way. These guys measure just 2.5” x 4.5” finished. Here’s a super basic tutorial to make some for yourself.
Supplies
(4) 1" x 3" fabric scraps
(1) 3" x 3" focal fabric scrap
(1) 3" x 5" background fabric
(1) 3" x 5" batting scrap
machine sewing thread
embroidery or quilting thread (optional for embellishment)
pincushion filling (I prefer crushed walnut shells* and a few small bits of batting.)
sewing machine and basic sewing supplies, including point turner* and Wonder Clips* or binding clips
*Disclaimer: To assist you in finding some of the products I use in my work, this blog sometimes uses Amazon affiliate links. As an Amazon Associate, I may earn a small commission from qualifying purchases made by clicking on one of the links (marked with an asterisk). This is another way you can help support my business, and I thank you! That being said, if you're able to purchase the item locally, I strongly encourage you to do so. I only feature products that I would use myself.
Instructions
Using a 1/4” seam allowance, sew your fabric pieces together. Two 1" x 3" pieces will go on the top side of the focal fabric, and two will go on the bottom, as shown. (Feel free to switch this around as you please.)
Optional: embellish your pincushion by placing the assembled piece on top of the batting and quilting or embroidering as desired (no need to baste). I added a few small plus stitches with three strands of embroidery floss.
Layer the backing right side up, followed by the top right side down and then the batting. If you quilted the top of your pincushion in Step 2, then you will place the backing right sides together with the quilted top/batting unit. Pin or clip the layers in place. (I like to use Wonder Clips*.)
Using a 1/4” seam allowance, stitch around all four sides, leaving a 1 1/2” opening on one side. Be sure to backstitch at the beginning and end.
Using a pair of sharp scissors, clip the points off the four corners to reduce the bulk.
Turn the pincushion right side out through the opening. Use a point turner* or similar tool to push out the corners, then press the entire pincushion flat, tucking in the fabric at the opening.
Fill the pincushion with your preferred filling. I use a small funnel to fill mine almost all the way with crushed walnut shells*, then I use my point turner or Purple Thang* (so useful!) to push a few small batting scraps in to fill the rest.
Handstitch the opening closed and enjoy!
