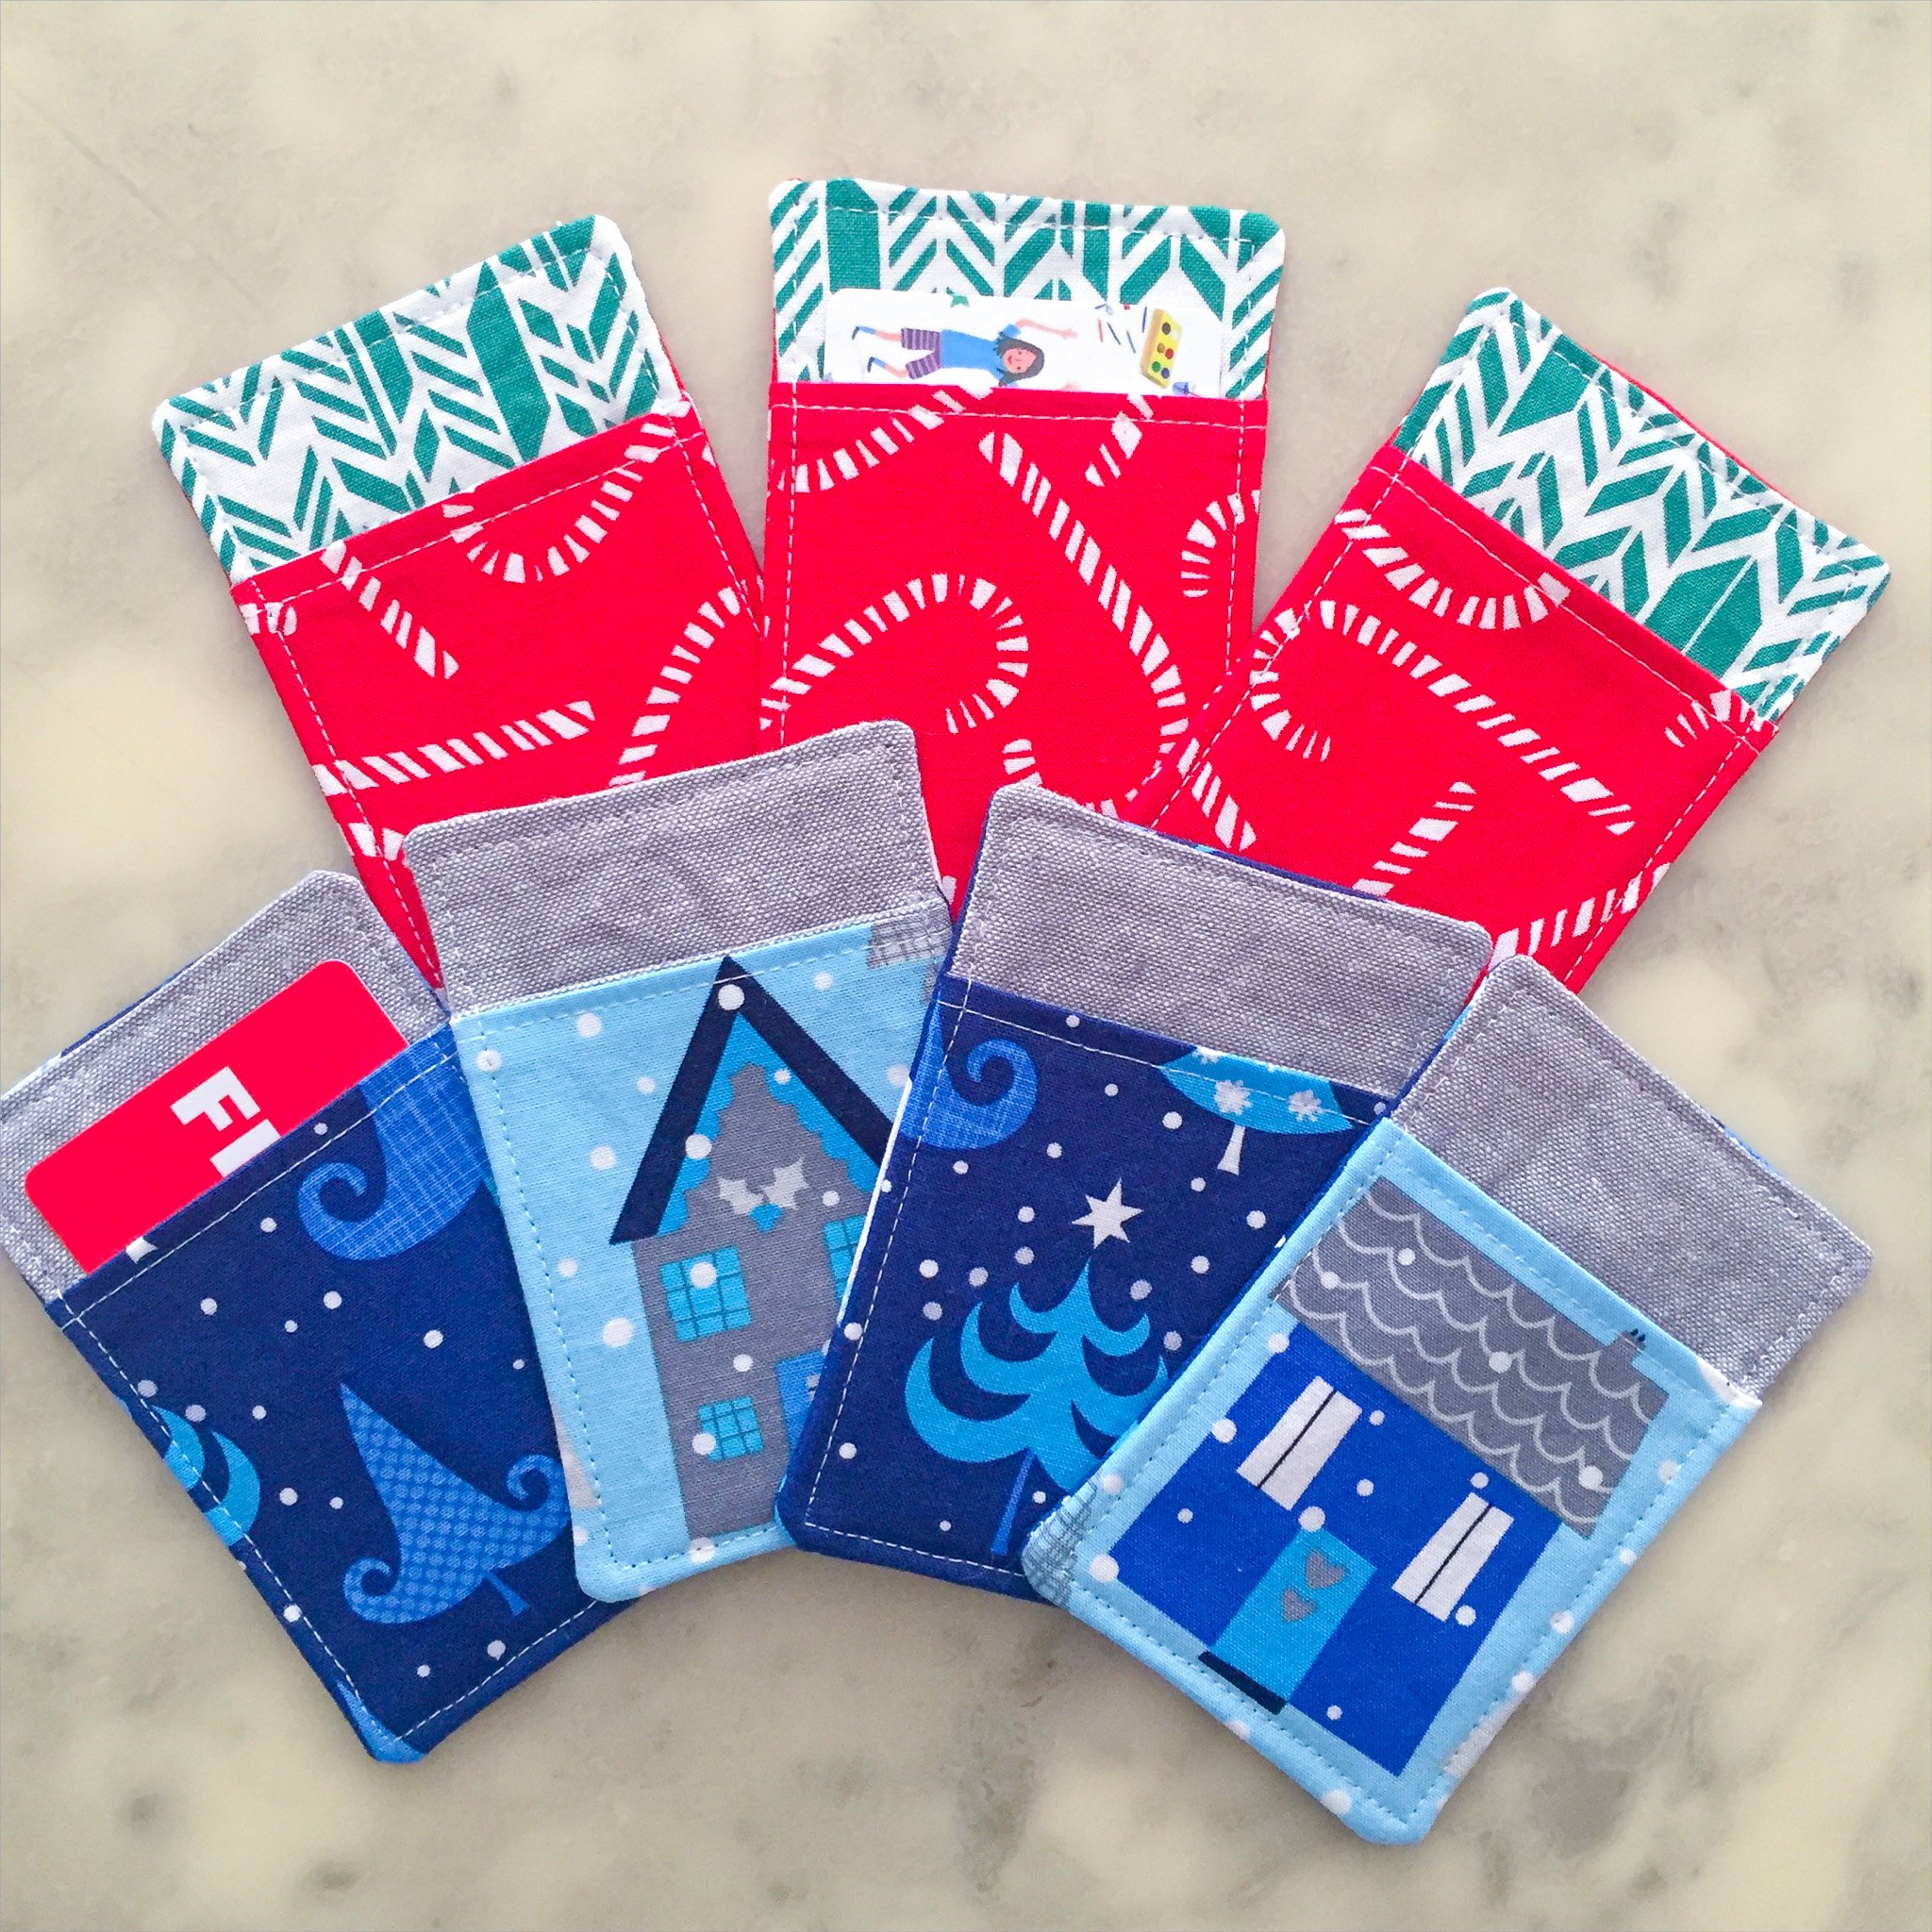
Fabric Gift Card Sleeve (Tutorial)
Happy season of giving! I don’t know about you, but I’m deep in the midst of present gathering for family, friends, teachers, and service workers. While I love a personal gift full of meaning, there’s always a time and a place for a good ol’ gift card. What recipient doesn’t like to pick out their very own gift? But that doesn’t mean you can’t add a personal, handmade touch. I know many of you have tried and loved my felt gift card envelope tutorial (no machine required!), but today I’m here to offer up another option.
These cute little fabric sleeves are easy to knock out assembly-line style (I finished seven in just a few hours one night), so grab your cutest holiday fabrics (or any fun fabric for gift-card giving year-round) and let’s start making! Keep a stash around, and you’ll always be ready.
Supplies
(2) 3.25" x 4.75" backing fabric
(2) 3.25" x 3.75" front fabric
(2) 2.75" x 4.25" midweight fusible interfacing (like Pellon 931)
coordinating thread
sewing machine and basic sewing supplies
optional: pins*, point turner*, and Wonder Clips or binding clips
Note: I chose to use one piece of each of my fabrics for the front and back of the cozies, but you could use the same fabric for all four pieces or one fabric for the front and one fabric for the back, whatever suits your fancy. The front pieces are a great opportunity for some fun fussy cutting.
*Disclaimer: To assist you in finding some of the products I use in my work, this blog sometimes uses Amazon affiliate links. As an Amazon Associate, I may earn a small commission from qualifying purchases made by clicking on one of the links (marked with an asterisk). This is another way you can help support my business, and I thank you! That being said, if you're able to purchase the item locally, I strongly encourage you to do so. I only feature products that I would use myself.
Instructions
Step 1
Center your interfacing on each of your backing pieces and fuse it to the fabric according to the package instructions. Set aside.
Step 2
Place the two pieces of front fabric right sides together and sew across the top edge using a 1/4" seam allowance. (This is one of the sides measuring 3.25". The "top" is only relevant if you're using a directional fabric.)
Step 3
Press, then turn the fabrics wrong sides together and press again to create a crease along the top edge.
Step 4
Topstitch along the top edge of the front unit about an 1/8" from the edge.
Step 5
Sandwich your pieces in this order (from bottom to top): the piece of backing fabric that you want to see from the front of the cozy (the green fabric in this case) right side up, the pieced front unit right side up, and the backing fabric that will be on the back of the cozy (the large piece of candy-cane fabric in this case) wrong side up. Double check the orientation of your pieces if you’re using any directional fabrics. If desired, pin or clip the layers in place.
Step 6
Sew around the outside using a 1/4" seam allowance and leaving a 2" opening at the top for turning.
Step 7
Clip your corners, then turn the cozy right side out through the opening. Use a point turner* or similar tool to push out the corners, then press the entire pincushion flat, tucking in the fabric at the opening.
Step 8
Topstitch around the entire cozy using an 1/8" seam allowance, closing the opening at the top as you go.
Step 9
Insert your gift card and give to someone special! (Then go make 10 more for next time.)


