The Basics of Needle-Turn Appliqué (and the FREE Into the Void Pattern!)
Did last week’s list of my go-to needle-turn appliqué supplies whet your appetite for more appliqué fun? Well, then you’re in luck, because today I’ve got a new tutorial for you, plus a FREE pattern for you to download to try out your new appliqué skills. Excited? Then, let’s go.


This tutorial uses the free Into the Void pattern, so you can start by scrolling to the bottom of the post and downloading the pattern, which includes the template options and all you need to know about fabric requirements and cutting sizes. I’ve also created a full video tutorial with even more details and tips.
To create the standard block, fold the appliqué fabric in half lengthwise and place the half-triangle template on the fold. Trace (I like to use a Frixion pen) around the template and cut it out.
Next, fold the appliqué piece and background square in half both ways and crease lightly. Use the creases to center the appliqué piece on top of the background piece and pin in place using your appliqué pins. Four should do it on a piece this size.


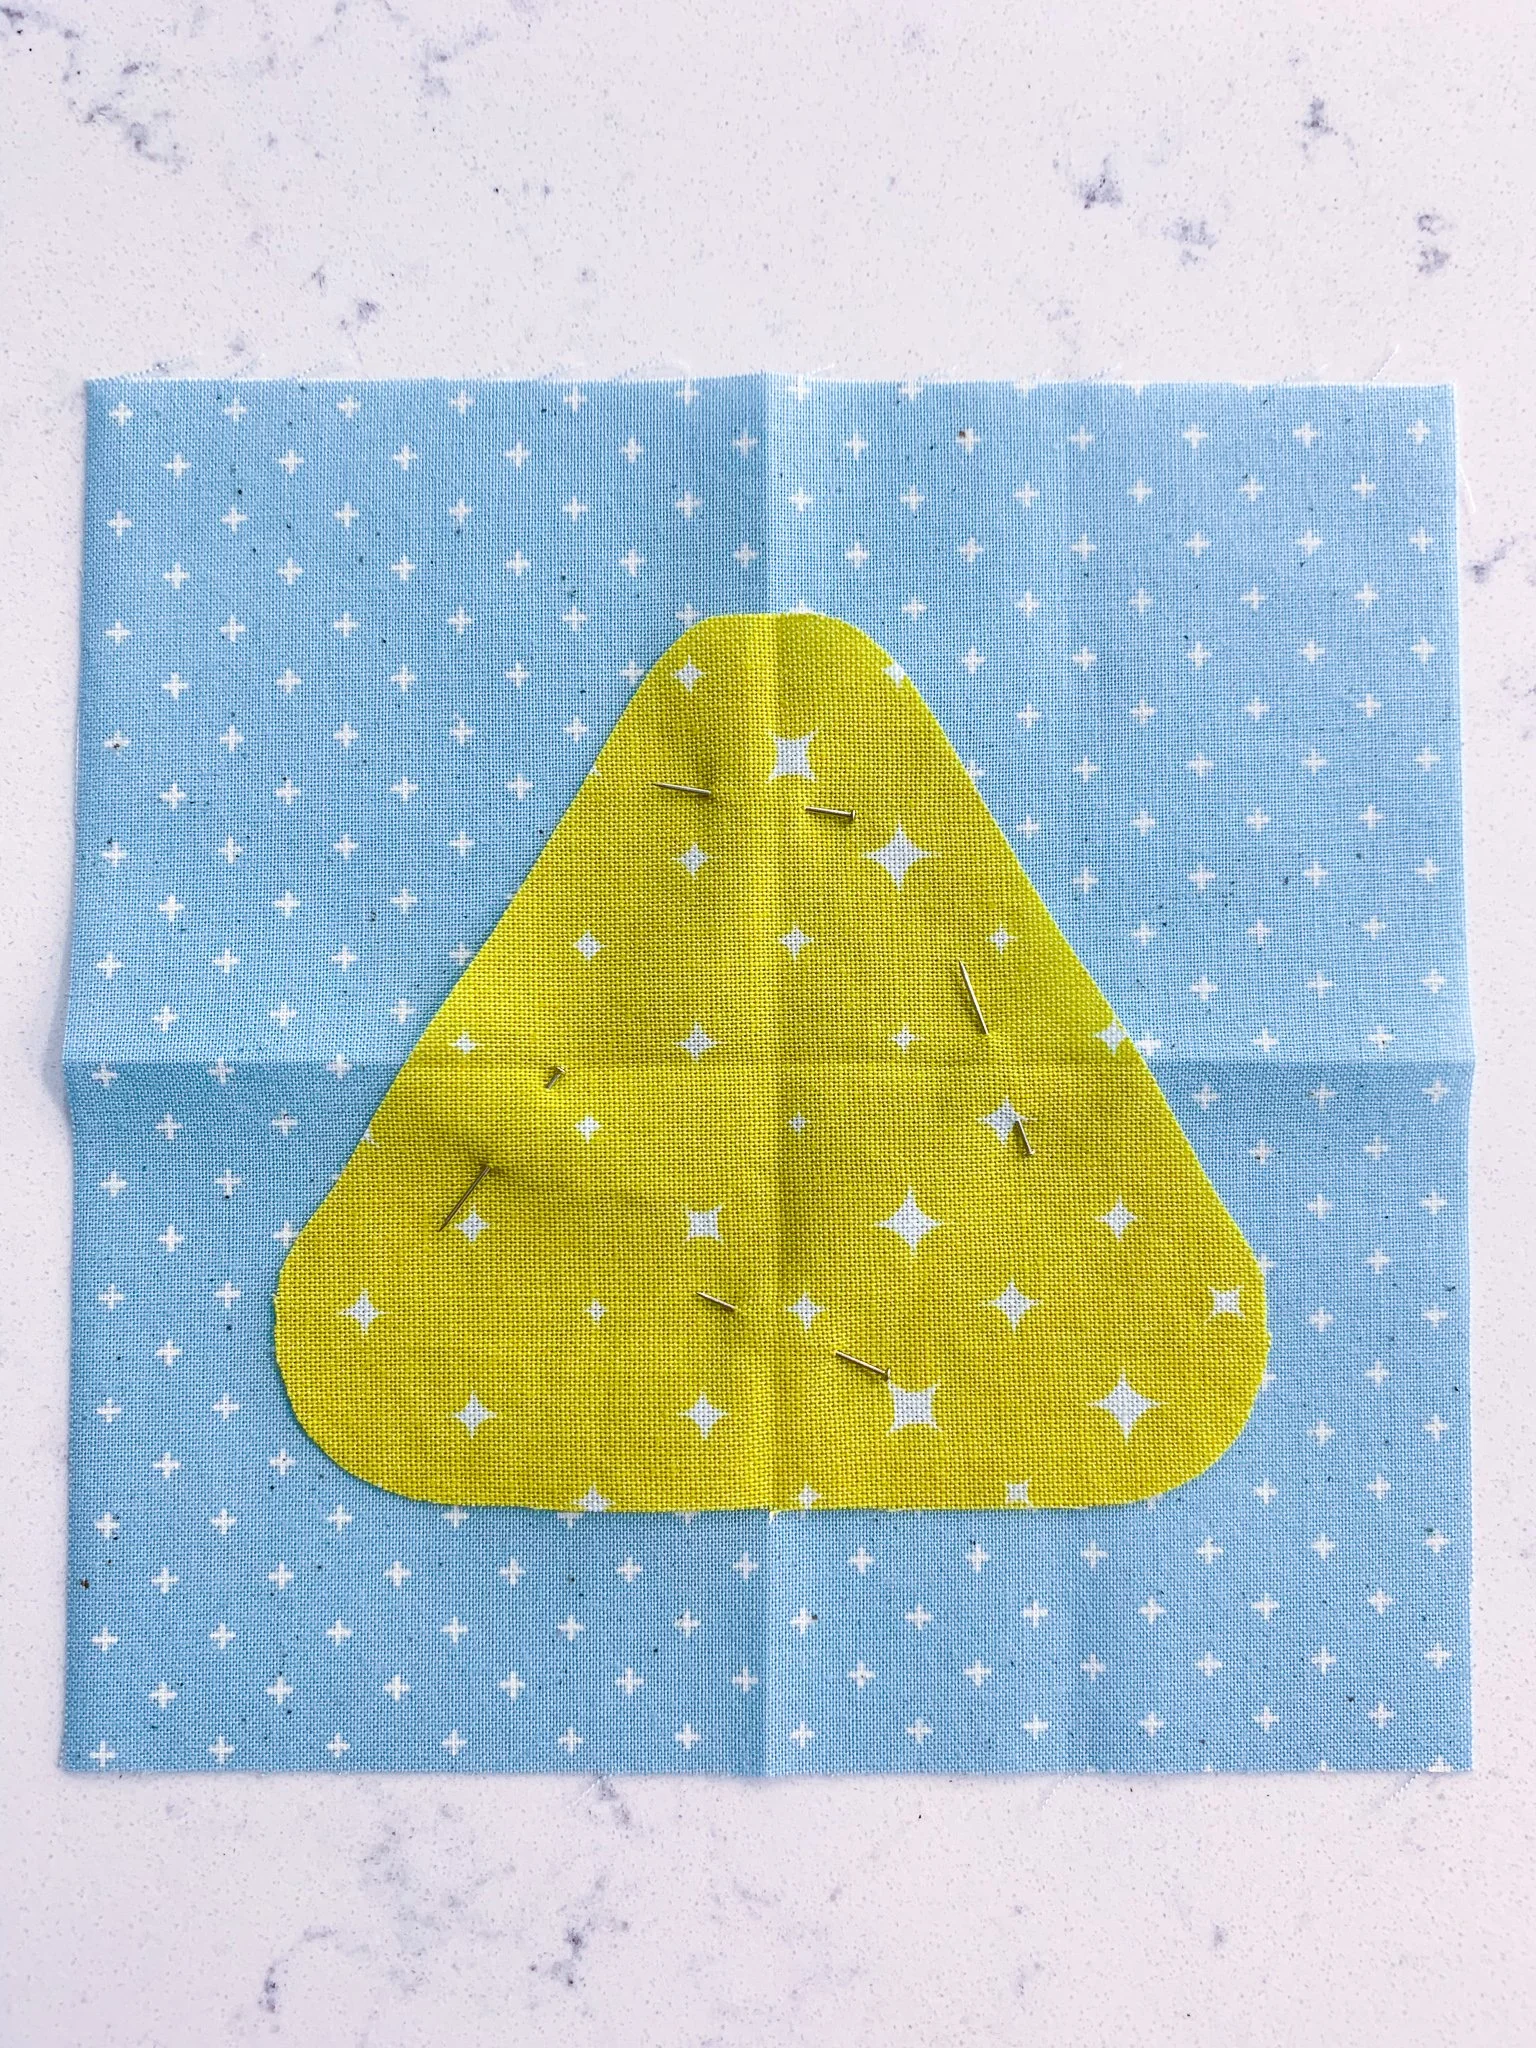
Use your basting thread to baste a line 1/4” inside the appliqué piece. Do not knot your thread at the beginning or end so you can pull it out easily after you are done appliquéing. Use a seam gauge to ensure you keep a consistent seam allowance. It’s fine if your seam allowance is a bit more generous than 1/4” (your finished appliqué piece will just be a bit smaller), but you don’t want to go smaller than a 1/4” because you won’t have enough fabric to turn under to appliqué. When you make it back to where you started, take a few extra basting stitches to overlap your starting stitches and trim your thread, leaving a short tail on top of the piece. Remove the appliqué pins.
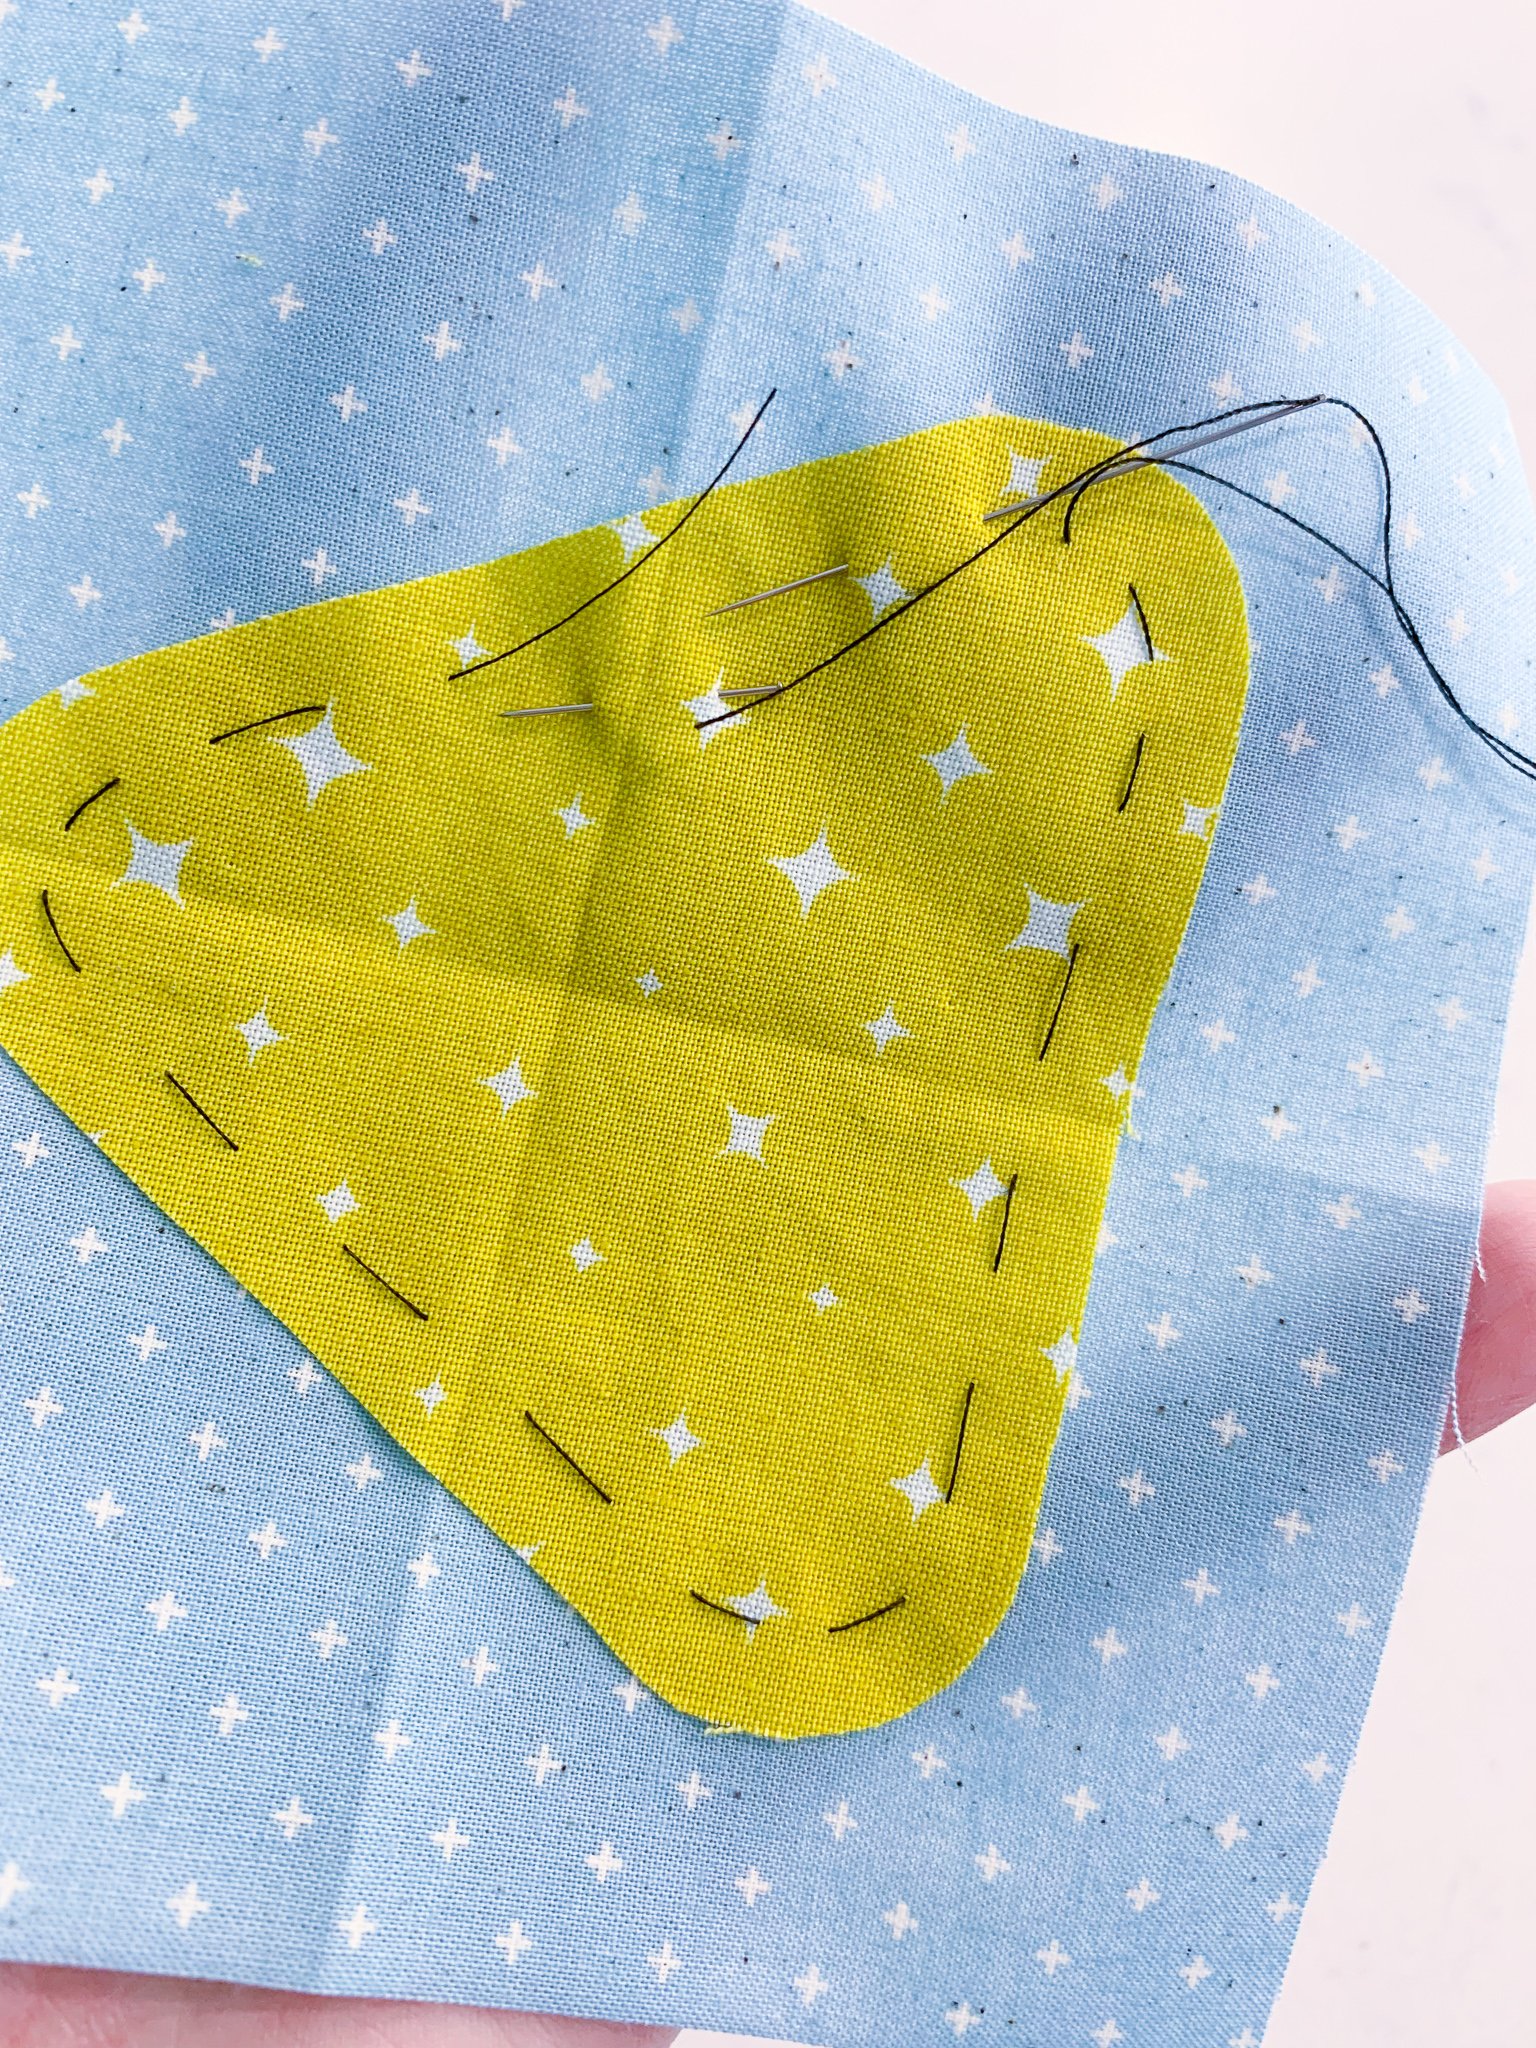

Now it’s time to appliqué! Switch to your appliqué thread and needle. I like to use 100 wt. Wonderfil Invisafil thread (you can read about more options in the supply post). Start by making a quilter’s knot at one end of your thread. With a super-thin 100 wt. thread, you’ll need to wrap the thread around your needle 8-10 times to create a knot that’s big enough to not pop through your fabric.
Starting along a straight edge (not a corner), fold a small amount of the appliqué fabric under until it meets the basting stitches. Hold the fabric down with your thumb. Starting on the backside of your fabric, bring your needle up through the background and the appliqué piece, coming out right next to the edge of the appliqué piece. Pull your needle and thread all the way through.
Even with where you came up, take your needle back down through the background only (not the appliqué piece). In the same motion, tilt your needle and bring it back up through the background and appliqué piece about an 1/8” away. Push your needle through and repeat, working around the edge of the entire piece. Fold down small amounts of fabric at a time, especially as you’re working around the corners, and take the time to stop and adjust as needed if anything starts to get wonky.


When you get back to where you started, take a few extra stitches past your starting point to secure the area. Then, turn your piece over and make a few small knots on the backside underneath the appliqué piece (but stitching only through the background) to secure your thread. Trim the thread. Finally, snip the basting thread in a few places and pull it out. Now step back and marvel at your finished block!

In the Into the Void pattern, you can also use the full triangle template to create a reverse-appliqué version of the block. Cut a square of the background and appliqué fabrics. Fold the appliqué fabric and template in half both ways and crease gently, then use the creases to center the template on the appliqué fabric. Trace and cut out the triangle. Place the appliqué square on top of the background square, then baste a 1/4” around the outside of the triangle, as well as around the outside edge of the squares to hold them together. Proceed as described above, though this time, you’ll be folding the fabric into the triangle. The pattern and video contain additional images for guidance.


Finally, you can also use the half-triangle template in the pattern to create fun alternative designs. To create the one below, trace and cut two copies of the template right side up and two copies of the template turned face down (these pieces are not cut on the fold; use the template as-is on a flat piece of fabric). Then, arrange the pieces in the corners of a background square as shown. The tips of the triangles should be placed a 1/4”from the corner of the background square. Pin, baste, and appliqué as described above.


Aren’t these blocks the cutest? The pattern is designed for 5” squares, so grab a charm pack you have laying around and start playing. It’s the perfect simple, low-stress block to figure out the process and get you ready to move on to more complicated shapes.


Sign up for my newsletter below to get the free Into the Void pattern! (Don’t worry, you can always unsubscribe if the newsletter isn’t for you, but I think you’ll find plenty to keep you tuned in.)


